ASP .NET Website Using Master Pages
ASP .Net Master Pages
This article will describe how to use Master Pages in a .NET website to provide a continuous look to the pages while browsing. A static website with several pages will be created to demonstrate how to apply CSS styles to the MasterPage and use the ContentPlaceHolders for formatting the pages.
Create the ASP .Net WebSite Project for the MasterPage
This website using a MasterPage will have a static Header, static Sidebar and a Main ContentPlaceHolder where the content will change. The Content in the placeholder will be the Aspx pages that will be created (not unlike having frames "back in the day").
Open Visual Studio and create a new WebSite project.

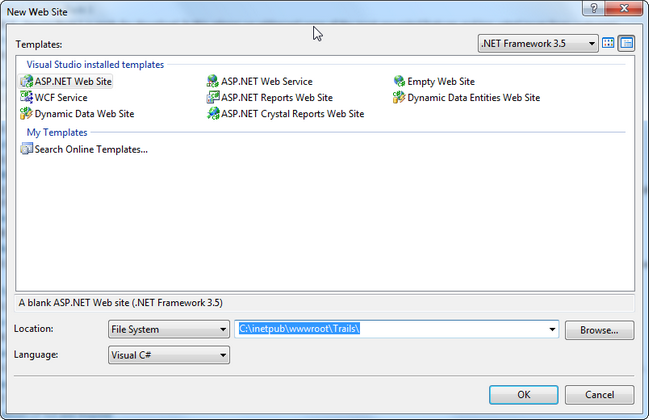
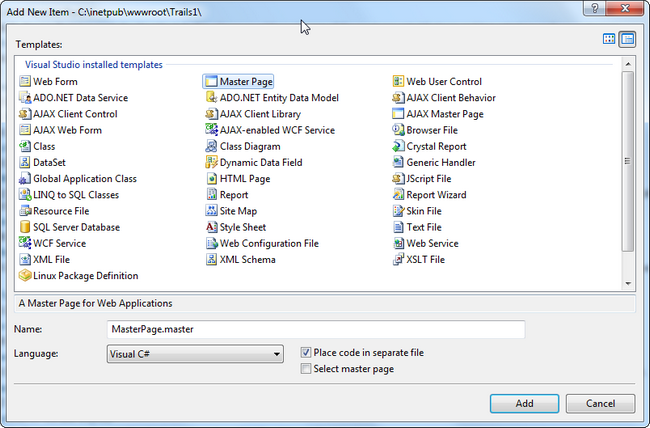
Add a New Item and select Master Page.
Open the Default.aspx page delete all content except for the first line and then add the MasterPageFile name to the first line of code.
<%@ Page Language=#"C#" AutoEventWireup="true" CodeFile="Default.aspx.cs" Inherits="_Default" MasterPageFile="~/MasterPage.master" %>
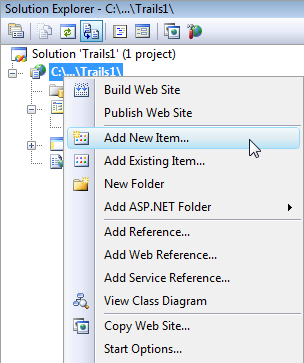
Add some additional pages to the project by right clicking on the Solution and selecting Add New Item.
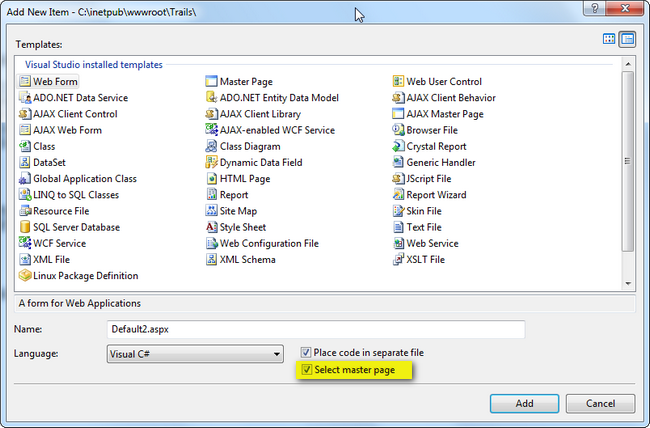
As the Pages are being created, be sure to click in the box for Select Master Page.
Formatting the ASP .Net MasterPage
Go to the MasterPage.master and open it to view the ContentPlaceHolder
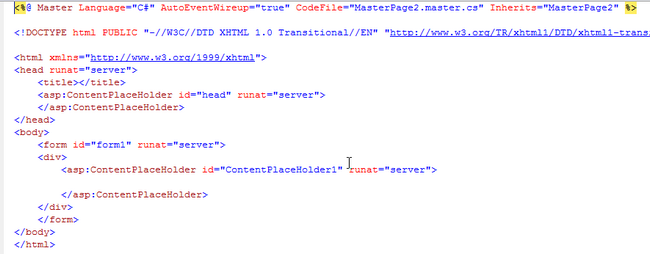
This website is going to use the MasterPage to provide the same Header and Hyperlinks on all of the pages. There is one ContentPlaceHolder in the Body. This can be used for the main content. Two more can be added for the Header and the Sidebar (with the Links).
<asp:ContentPlaceHolder id="cph1" runat="server"> </asp:ContentPlaceHolder> <asp:ContentPlaceHolder id="cph2" runat="server"> </asp:ContentPlaceHolder> <asp:ContentPlaceHolder id="cphMain" runat="server"> </asp:ContentPlaceHolder>
To get these ContentPlaceholders to stay in their places and to add some effects to the hyperlinked pages, a stylesheet will be added to the Website.
body { background-color:Black; }
.sidebar{
background-color:Black;
width: 250px;
float: left;
height:1000px;
padding-top:50px;
padding-left:25px;
}
.sidebarlink a{
text-decoration:none;
color:#FFFFFF;
}
.sidebarlink a:active{
color:#FFFFBB;
}
.sidebarlink a:visited{
color:#CCCFFF;
}
.sidebarlink a:hover{
color:#FFFAAA;
text-decoration:underline;
}
#header{
background:black;
background-position:right;
width: 1000px;
text-align:center;
}
#main{
background: Black;
background-position:right;
float:left;
width: 1000px;
}
#textblk{
background-color:White;
color:Black;
}
Now that the StyleSheet.css has been created, the styles can be applied in div tags above the ContentPlaceHolders. The style for the links may also be applied in a separate div tag. Content for the cphMain will remain blank as this is where the other pages will appear in the website.
<div class="sidebar"><br />
<asp:ContentPlaceHolder id="cph1" runat="server">
<div class="sidebarlink">
<a href="Default.aspx">Home<br />
<a href="Aihualama.aspx">'Aihualama</a><br />
<a href="DiamondHead.aspx">Diamond Head Crater</a><br />
<a href="KokoCrater.aspx">Koko Crater</a><br />
<a href="ManoaFalls.aspx">Manoa Falls</a><br />
</div>
</asp:ContentPlaceHolder>
</div>
<div id="header">
<asp:ContentPlaceHolder id="cph2" runat="server">
<asp:Label ID="lblHead" runat="server" Text="O'ahu Hikes" ForeColor="White"
Font-Size="X-Large"></asp:Label>
</asp:ContentPlaceHolder>
</div>
<div id="main">
<asp:ContentPlaceHolder id="cphMain" runat="server">
</asp:ContentPlaceHolder>
</div>
Now that the MasterPage is created, the additional pages may be modified to fill in the ContentPlaceHolder for the MasterPage. The code for the Default.aspx page can be added as follows:
<asp:Content ContentPlaceHolderID="cphMain" runat="server" >
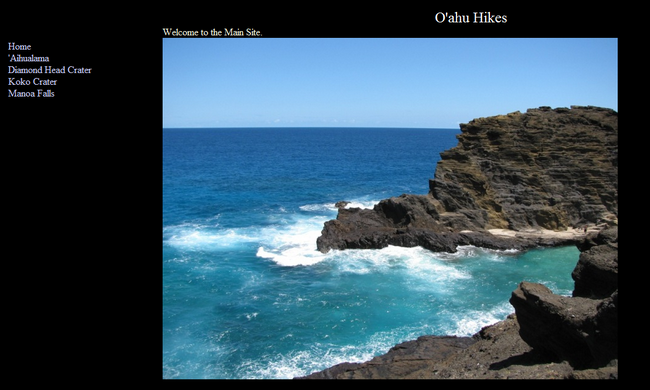
<asp:Label ID="lbl1" runat="server" Text="Welcome to the Main Site."
ForeColor="Beige"></asp:Label><br />
<asp:Image runat="server" ImageUrl="~/imgs/IMG_0148.JPG" />
</asp:Content>
Add the ContentPlaceHolder information for each of the aspx pages created and used in the Hyperlinks.
<asp:Content ID="Content4" ContentPlaceHolderID="cphMain" Runat="Server">
<div id="textblk">
<table>
<tr><td>Diamond Head crater was created 2.5 million to 4 million years ago.</td></tr>
<tr><td>
Diamond Head Trail beginning.
</td></tr>
<tr><td>
<asp:Image ID="Image0" runat="server" ImageUrl="~/imgs/DD1.JPG"
AlternateText="Diamond Head Trail" Width="600" Height="500" />
</td></tr>
</table>
</div>
</asp:Content>
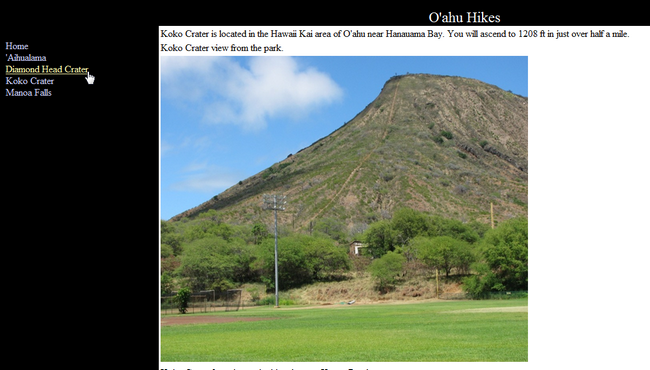
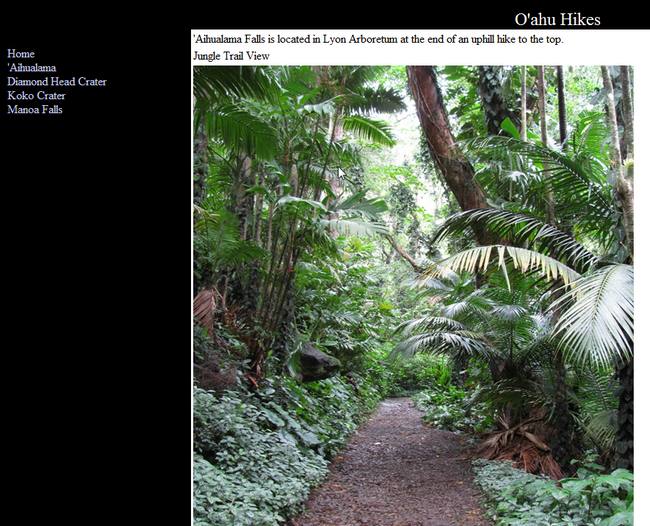
Run the website from Visual Studio and test the main site and the links to see that the links stay in the sidebar and the header stays above. Also the contentPlaceHolder changes when each link is clicked.
A .Net website can be quickly put together using the MasterPage. The best part is, that if you need to change anything, you only have to do it in the MasterPage one time.
