SQL Server Reporting Services - Wizard
SSRS - Basic Report Creation
This article describes how to create your first report using the SSRS Report Wizard with a bit of an introduction to formatting the report at the end. An easy step by step start to anyone using SSRS for the first time with a little help on how to manage each pop up screen that the Wizard takes the user through to generate the final report.
First Time SSRS Report in BIDS
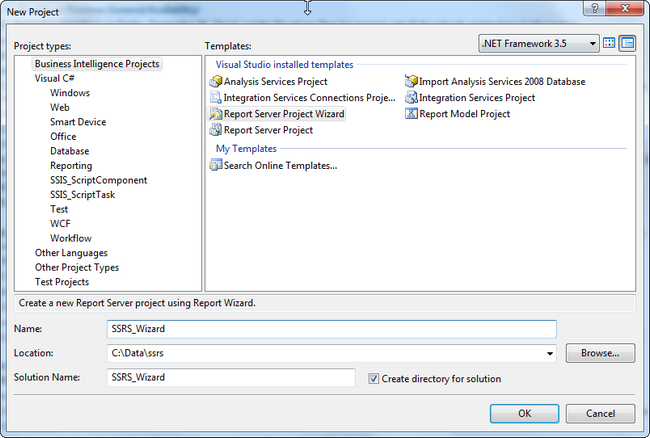
Open Visual Studio and select Business Intelligence Projects and select the Report Server Project Wizard and click OK.
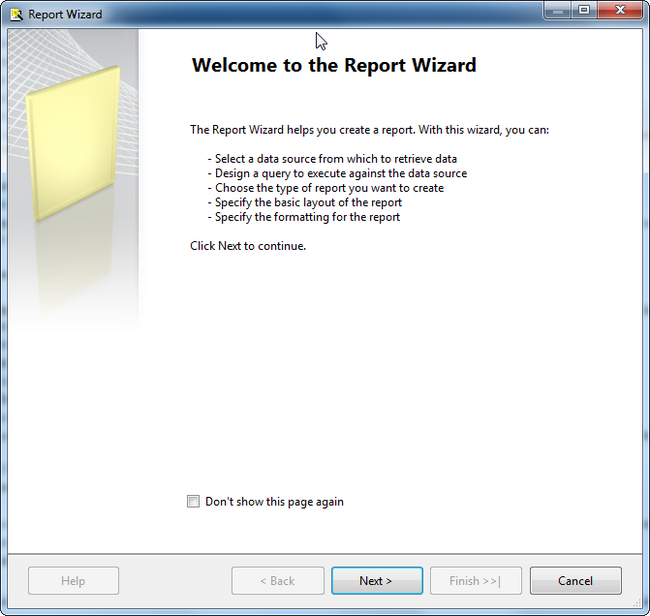
The Welcome screen will appear. Click Next to get started.
Setting up the SSRS Data Source
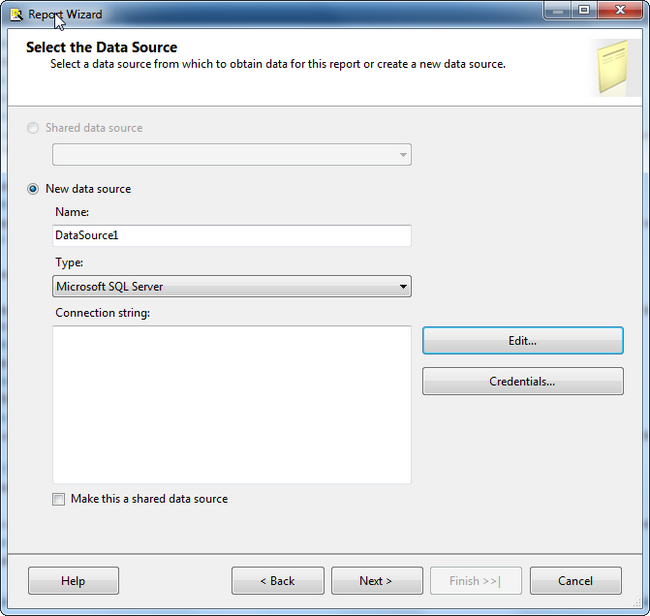
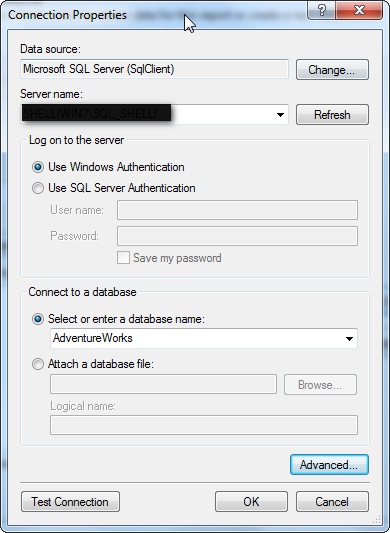
Select New DataSource option button and click on Edit to connect to the SQL Server source. This will retrieve the Connection String.
Select the Server Name of the SQL Server to connect to and then Select the Database Name from the drop down list. This article is using AdventureWorks. Click OK to continue.
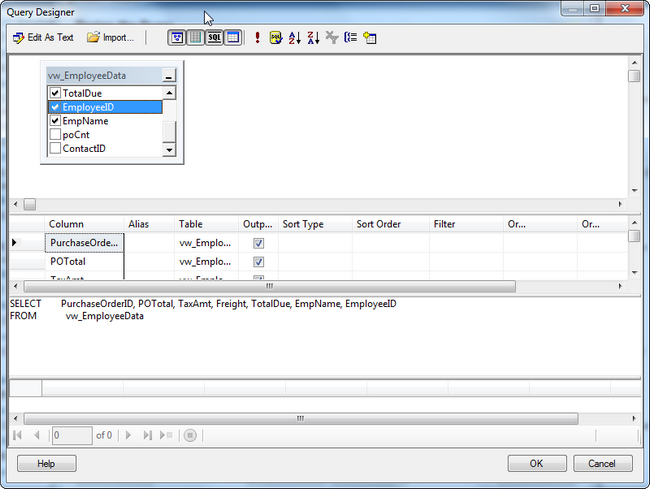
In the Query Designer, select the table or View to use for the datasource of the report. This article uses a view constructed on the PurchaseOrder data. Click OK to continue.
Setting the SSRS Report Styles
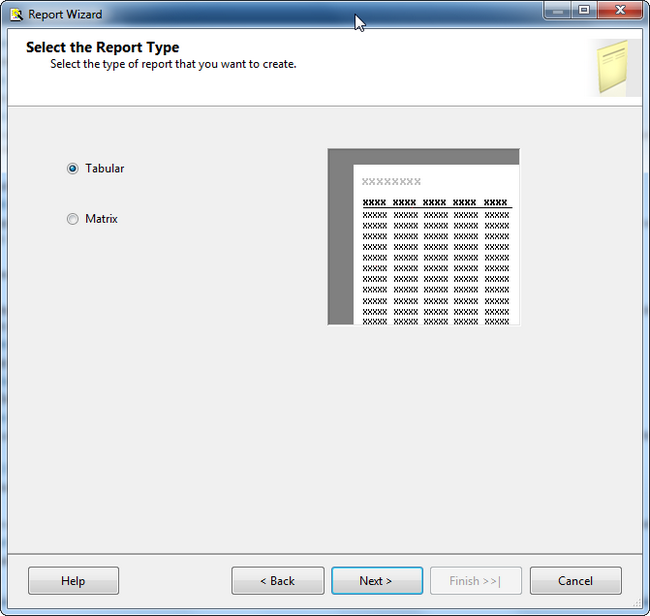
The Report Type window will open. For this article, a Tabular format will be used. Click Next to continue.
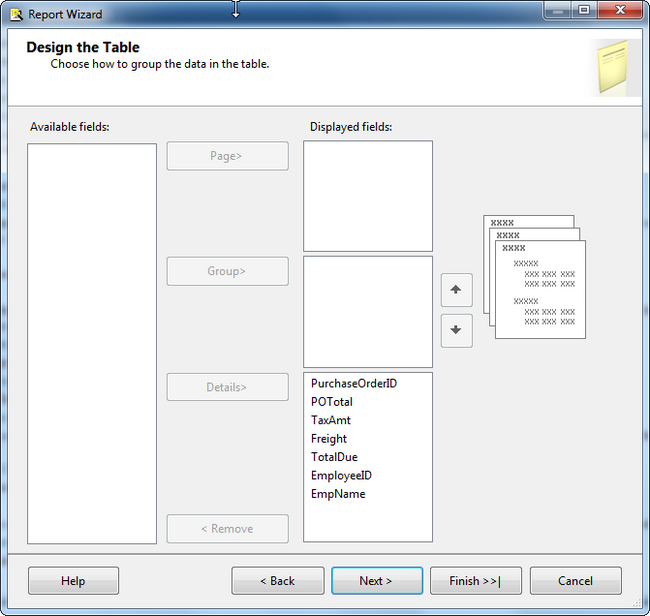
In the Design Table window, select the fields from the Available fields box and click on Details to add them to the Details section of the report. Click Next to continue.
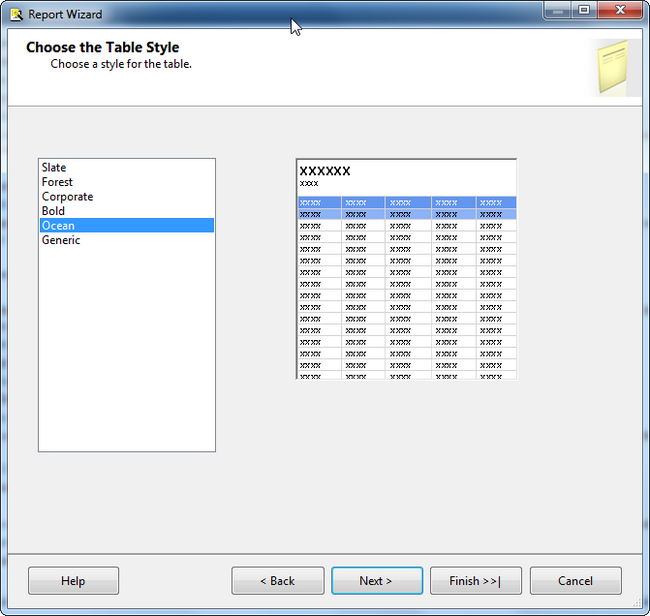
Select the table style from the choices in the boxes and click Next.
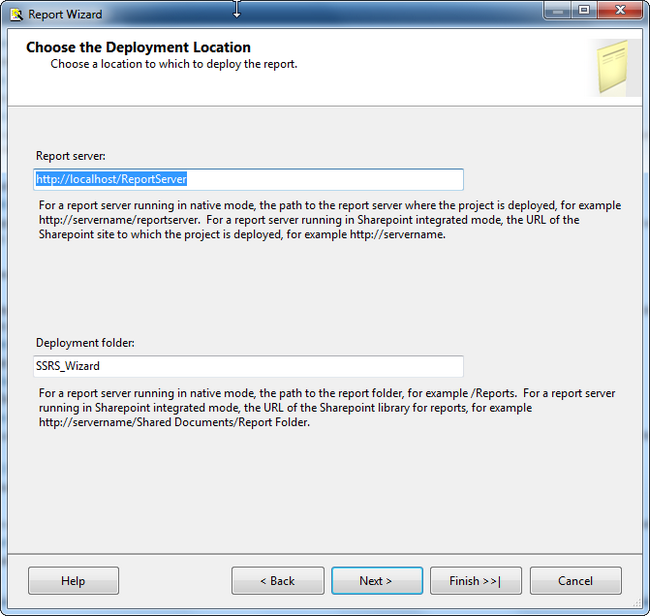
The Deployment Location window allows you to customize where the report will reside.
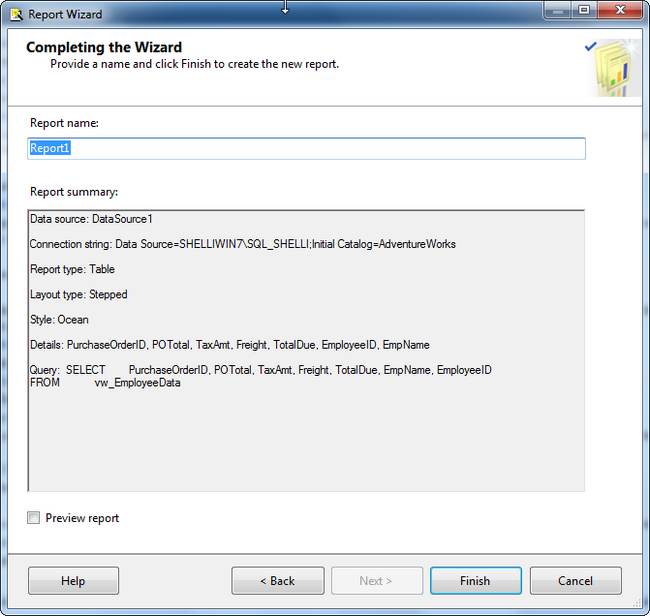
Finally, select the report name, if desired and click Finish to complete the report.
SSRS Report Formatting Introduction
In the Design tab, fields and textboxes may be moved and updated. For this article, double click in the box that says Report1 and change it.
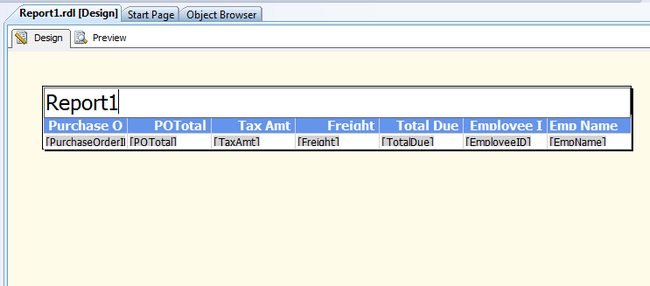
Select the Preview tab to see what the report will look like online.
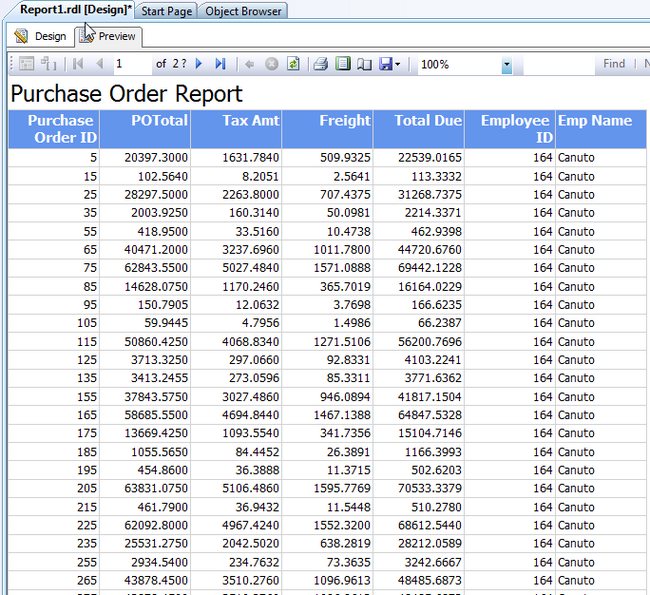
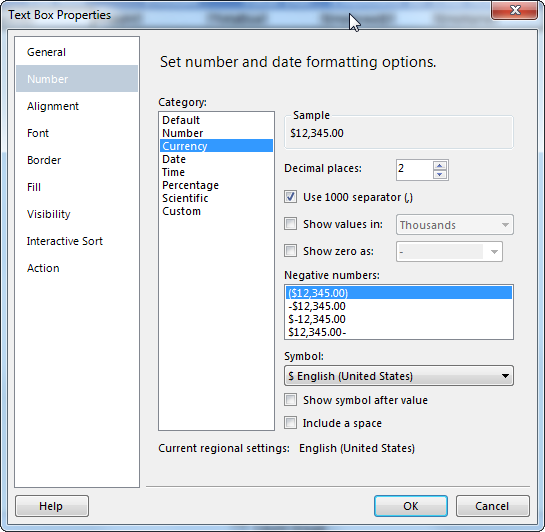
The report appears to have formatting issues with the currency amounts. By switching back to Design tab and then Right Clicking on each TextBox and selecting TextBox Properties, the currency can be formatted to appear correctly in the report. Click Number in the Popup box and select Currency and select Use 1000 separator to format the field. Do this for each of the Currency fields.
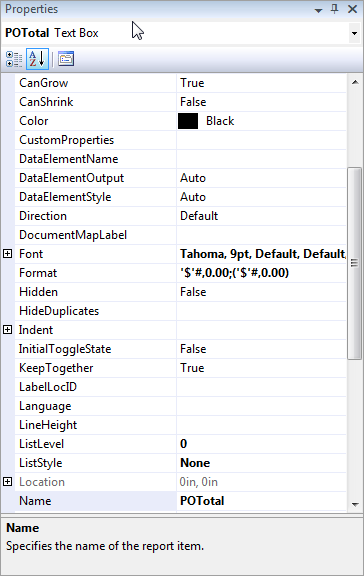
In the Properties box for each of the fields in Format notice that there is text that appears after finishing in the TextBox Properties.
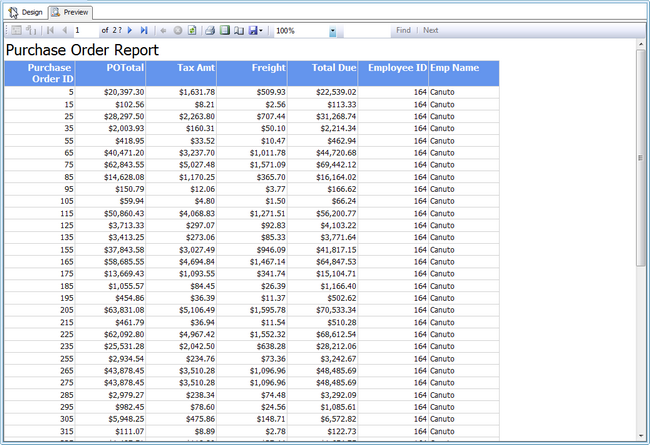
Click Preview to see that all of the Currency fields are now correctly formatted.
