
MS Access Creating Bound Forms Using a SQL Server View
Bound Forms to a Linked Data Source
This article describes how to create a SQL Server View, create an ODBC link in MS Access to it, and create 2 Bound Form Types: Single and Continuous.
SQL Server View for MS Access
Create the view in SQL Server using the Adventure Works database in SSMS.
USE [AdventureWorks]
GO
SET ANSI_NULLS ON
GO
SET QUOTED_IDENTIFIER ON
GO
ALTER VIEW [dbo].[vw_employees]
AS
SELECT HumanResources.Employee.EmployeeID,
Person.Contact.FirstName +
CASE WHEN Len(IsNull(Person.Contact.MiddleName,''))>0 THEN ' ' +
Person.Contact.MiddleName + ' ' ELSE '' END +
Person.Contact.LastName as EmployeeName,
Person.Address.AddressLine1, Person.Address.AddressLine2, Person.Address.City,
Person.StateProvince.StateProvinceCode, Person.Address.PostalCode,
HumanResources.Department.Name as DeptName
FROM Person.Address
INNER JOIN HumanResources.EmployeeAddress ON Person.Address.AddressID = HumanResources.EmployeeAddress.AddressID INNER JOIN
HumanResources.Employee ON HumanResources.EmployeeAddress.EmployeeID = HumanResources.Employee.EmployeeID INNER JOIN
HumanResources.EmployeeDepartmentHistory ON
HumanResources.Employee.EmployeeID = HumanResources.EmployeeDepartmentHistory.EmployeeID
INNER JOIN
HumanResources.Department ON HumanResources.EmployeeDepartmentHistory.DepartmentID = HumanResources.Department.DepartmentID INNER JOIN
Person.StateProvince ON Person.Address.StateProvinceID = Person.StateProvince.StateProvinceID INNER JOIN
Person.Contact ON HumanResources.Employee.ContactID = Person.Contact.ContactID
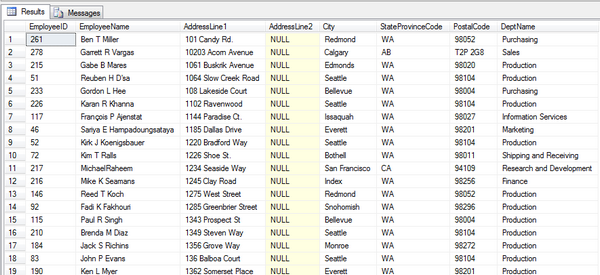
Run the View to see the result set.
SELECT * FROM dbo.vw_employees
MS Access Database Connection to SQL View
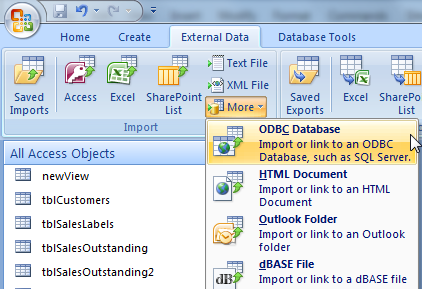
Open MS Access,Click the External Data tab and select More from the Import section in the Ribbon.
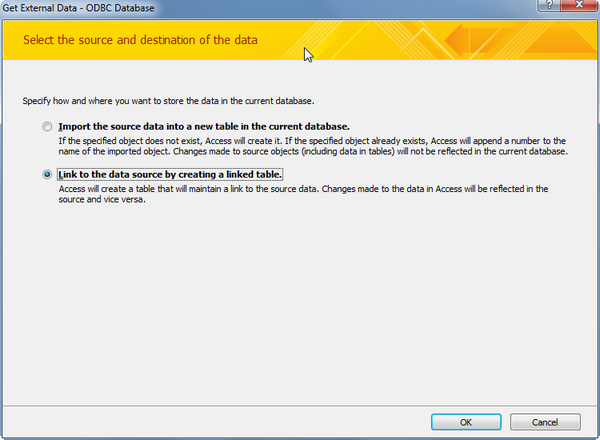
Select Linked Data Source from the 2 option buttons.
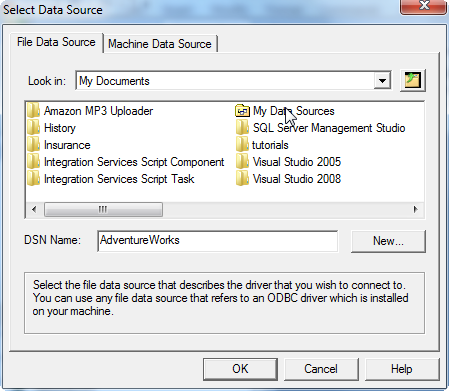
Select Data Source pop up will appear. Click New to set up a new ODBC Connection to SQL Server.
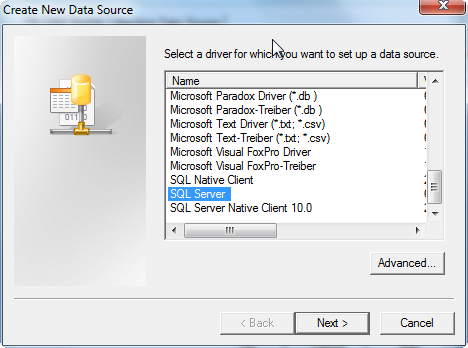
Select SQL Server from the list of data sources.
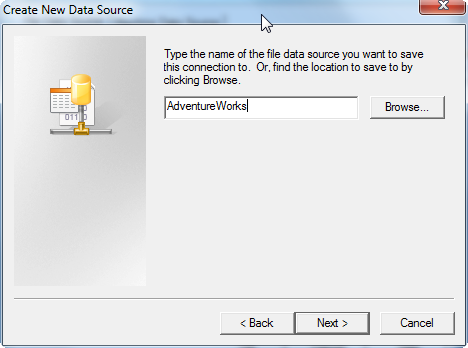
Type the name for the Data Source in the and click Next.
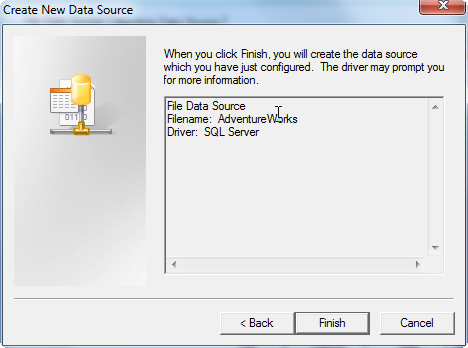
Verify the name of the data source and driver and click Finish.
Select the SQL Server name from the Drop Down List. The SQL Server name may also be typed into the box, too.
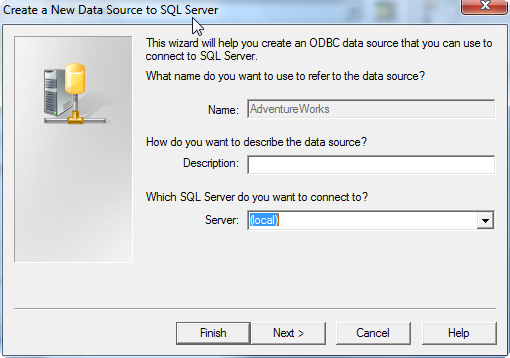
Check the box to Change the Default Database to AdventureWorks and click Next.
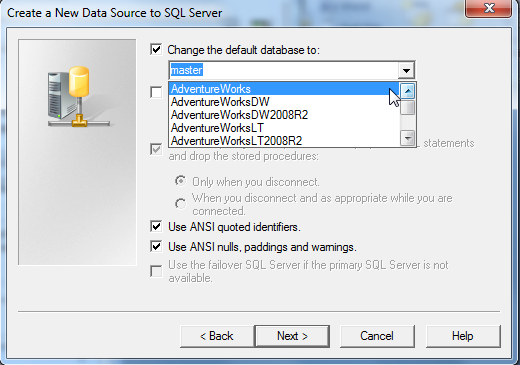
Test the data source and click OK.

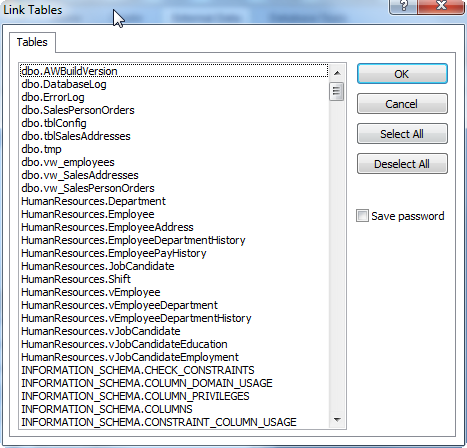
Select the view from the list of tables and click OK.
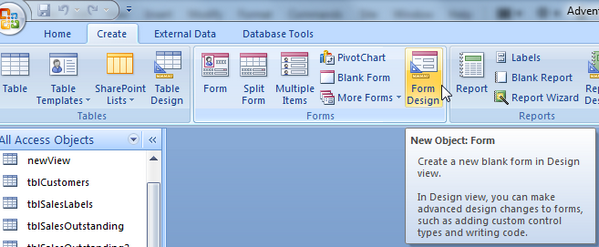
Create the MS Access Single Form
Select the Create tab and click on the Form Design box.
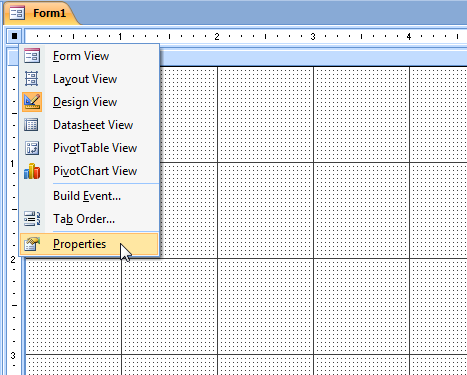
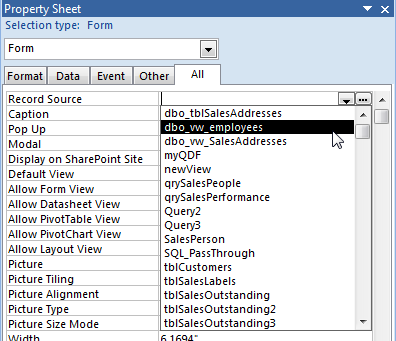
The form needs a data source. To connect it to the view, right click on the square in the upper left corner to select Properties.
To set the Record Source, click on the arrow and select the linked view from the drop down list.
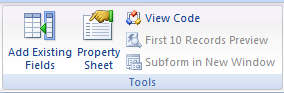
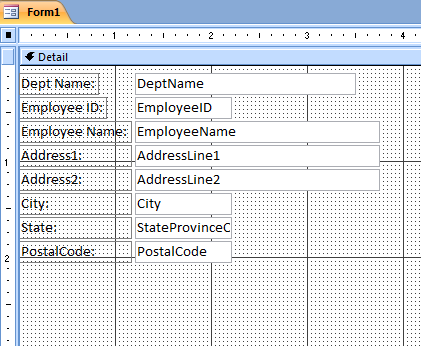
Click on Tools, Add Existing Fields to drag and drop the fields onto the form. Resize and move the text boxes with labels on the form in Design Mode.
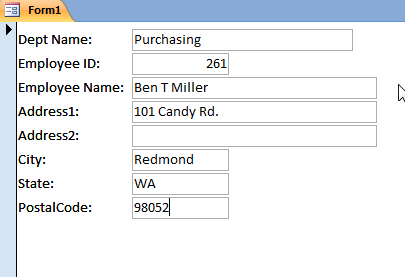
Click on Form View to preview the form with the data populated in the text boxes.
Add a Close Button to the MS Access Form
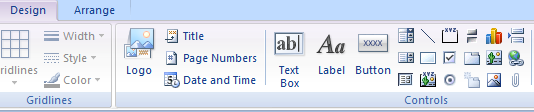
In Form Design Mode, click on the Design tab and select the Button control.
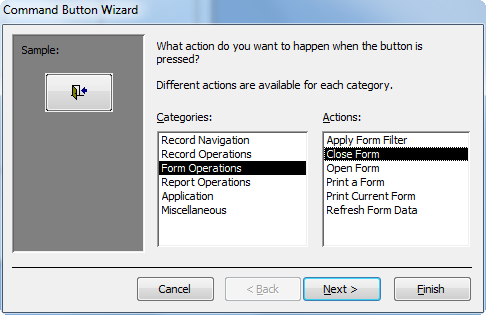
The wizard will pop up. Select Form Operations under the Categories and Close Form from the Actions list boxes.
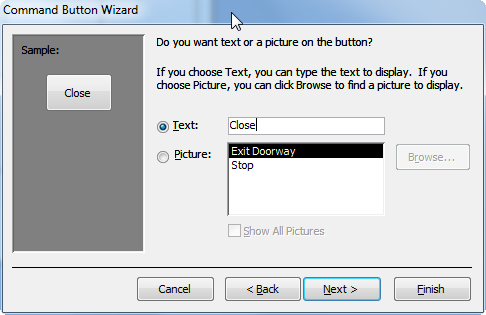
Select Text (or picture) and click Next.
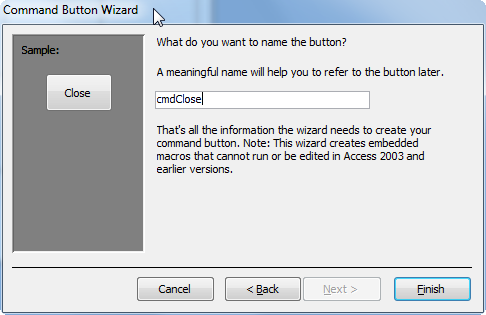
Type in a Name for the new Button.
View the Form and test out the new button.

Creating the MS Access Continuous Bound Form
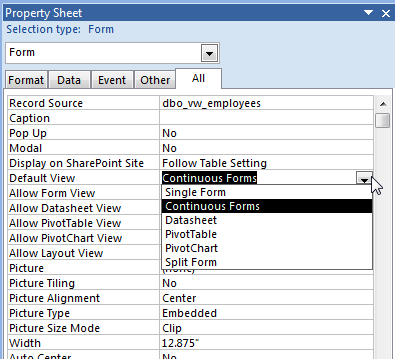
Save a copy of the Single Form, go to the Form Property Sheet and change the Default View from Single View to Continuous Forms.
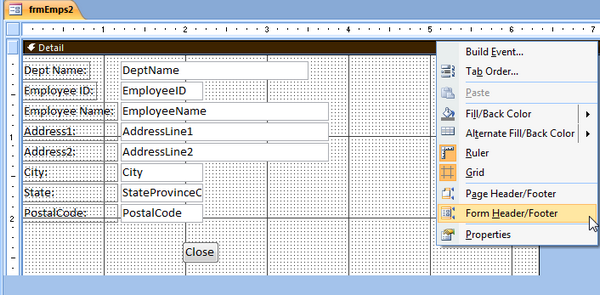
Add a Form Header\Footer to the Form by Right Clicking on it and selecting Form Header/Footer.
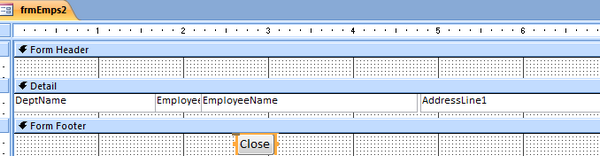
Move the text boxes into a single line and change the font, if desired. Move the Close Button to the Form Footer. Resize the Detail area of the form
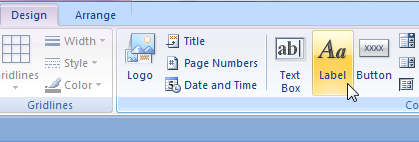
Add Labels to the form header using the design tab and selecting Label to draw them.
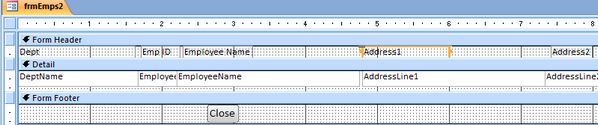
Preview the Data in Form View.
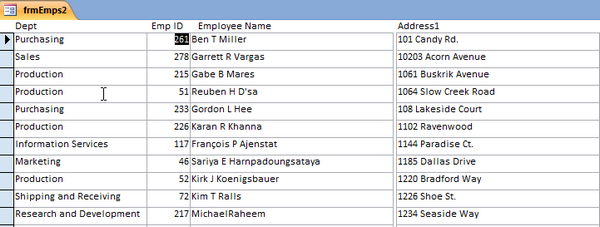
Creating Bound Forms requires a some design skill and is a quick and easy method to view data.