.Net Core 2.2 Console Application - iTextSharp
C# .Net Core 2.2. iTextSharp Console Application for PDF File
This article describes how to create a .Net Core 2.2 Console Application to create an PDF file using iTextSharp. The console application uses the iTextSharp package in the Repository to generate the Byte Stream and output SQL Server data into a PDF File. The Main section of the Console app will use Autofac to inject the Repository Class into the Service Class in the project and will be registered in a Container.
Create a SQL Server Stored Procedure
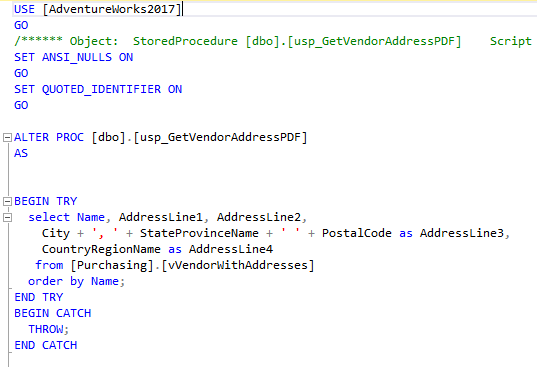
Create a stored procedure in SQL Server from the Adventure Works database using the View vVendorWithAddresses. This one provides a list of Vendors and Addresses for output into a list in a Mailing Address Label format in a PDF file.
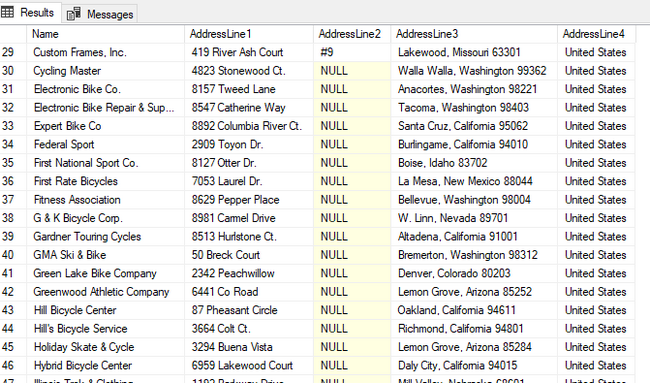
The output in SSMS from the Stored Procedure.
Create a C# .Net Core version 2.2 Console Application
Create a new C# Console Application in Visual Studio 2017. Add the NuGet packages to use Dependency Injection and iTextSharp.
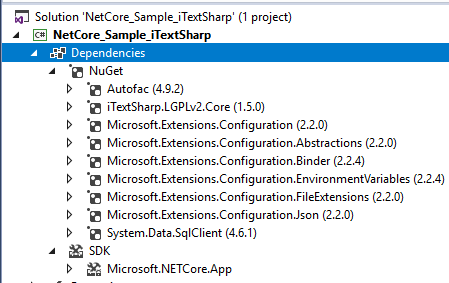
This application will require Interfaces and Classes for a Service and a Repository. In the upper part of the code, add references to use the System.Data.SqlClient and the Configuration assemblies below for each Class.
Create the DI Interfaces
Service Interface - Create an Interface for the service to Write the data and return a string containing the report name for iTextSharp.
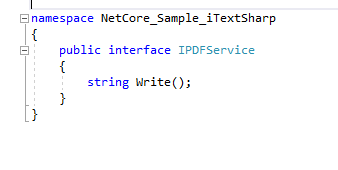
Repository Interface - Create an Interface for the repository to WriteData the data and return a string for the PDF report name mentioned above.
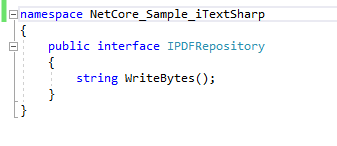
Create the DI Classes
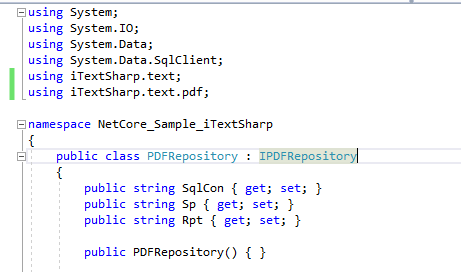
Repository Class - Create a new Class that implements the Repository Interface with a generic Constructor and 3 variables for the SQL connection and the Stored Procedure name + the local Path to the newly created iTextSharp PDF file report. Implement the Repository Interface member WriteBytes which will generate the byte array for the report and pass a string with the Report Name of the new PDF file. Add 2 additional functions to Get the Data from the DataSet and to Get the PDF generated into a PDF report file using iTextSharp code.
First, add the repository public variables and constructor.
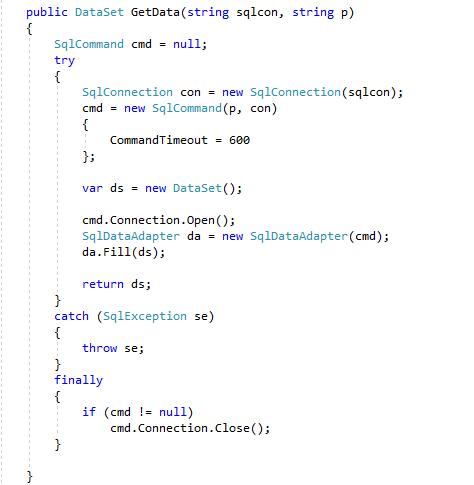
Add the DataSet Function - Add a Function GetData which takes the Sql Connection String and Stored Proc name to execute the SqlCommand and Fill the DataAdapter with the DataSet for the Repository.
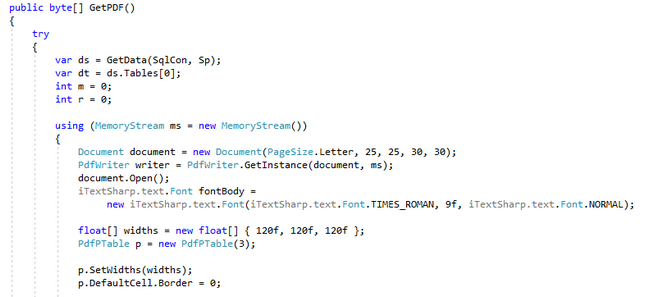
Add the iTextSharp function - Add a function to retrieve the byte array containing the formatted iTextSharp data for output to PDF. The code here Creates a MemoryStream, creates a new Document with a PdfWriter to send the document to the MemoryStream. This PDF Document will use a PdfTable of 3 columns for the formatted output.
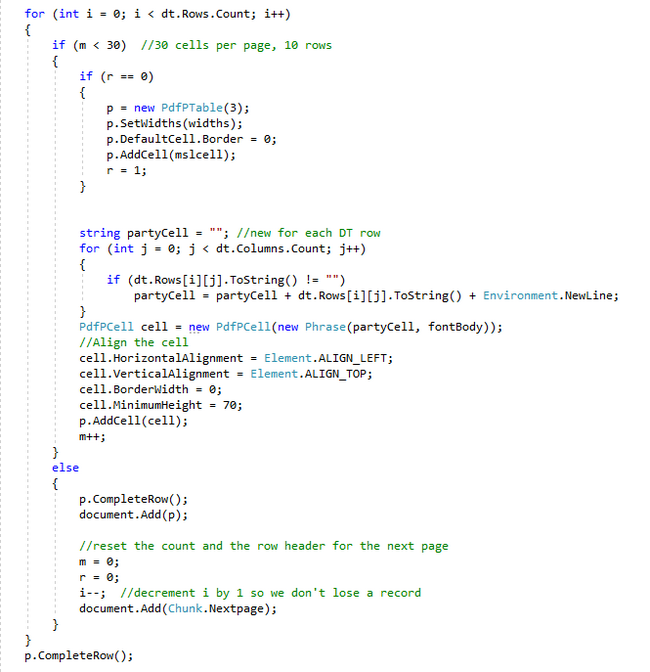
In this section of code, a Header in mslscell is created to span the 3 columns for placement at the top of each page of the PDF for the Adventure Works Vendor List.

The DataTable from the DataSet is then used in a For Loop to iterate through each row of data. The value m is used to keep the number of "labels" on the page to 30. The r value is used to determine the top of each page when = 0 and the add the mslcell to the top as a Header.
Each "Label" or "Cell" is built by iterating through the Columns in each DataTable Row to put the Name and Address together as a "Label". Once 30 "Cells" have been completed, the PdfTable for the Page is then added to the Page and a call to NextPage is made to continue iterating through the DataTable Rows.
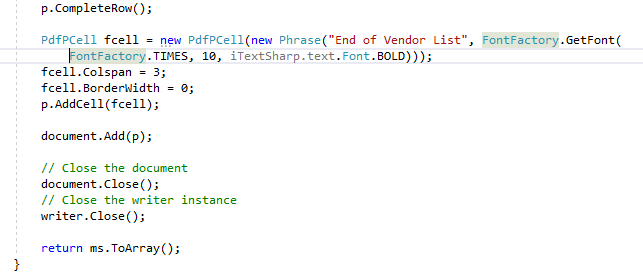
After iterating through the last row of the DataTable, an additional PdfPCell is added to indicate the end of the Vendor List. The last document in the PDF file is added, the document is closed, the MemoryStream is closed and the byte array is returned to be written out to a file.
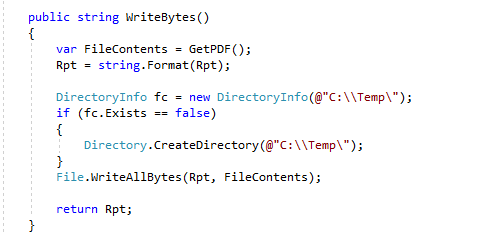
The final function to call is WriteBytes which calls the above GetPDF() function and writes out the data from iTextSharp into a PDF file. It returns the complete fileName with path to Main.
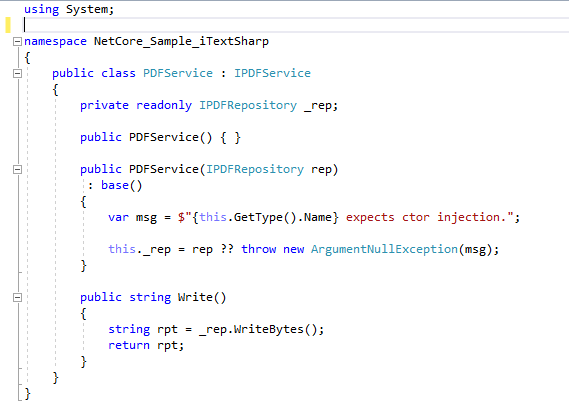
Service Class - Create a new Class that implements the Service Interface. Add a field of the local variable of the Interface Repository type. Create the required Service Interface member Write which calls the Repository Interface member WriteBytes to return the file name string to Main in Program.cs.
Creating the Main Code
Configuration File - Add a JSON Configuration file to the project (appsettings.json). Add the ConnectionString and user Stored Proc name to the file. Also add a rpt_path variable to the configuration file for the data output.

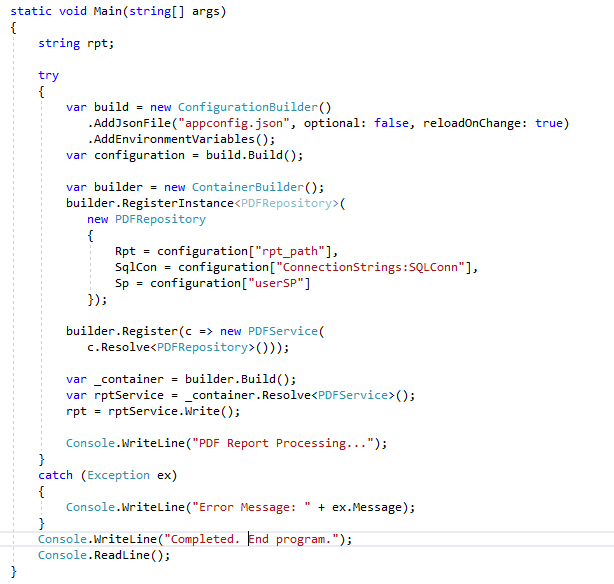
In Main in Program.cs, add ConfigurationBuilder code and assign the config information from the Build() into the a variable named configuration. Add a ContainerBuilder to Register the Instance of the PDFRepository and create a new instance of it and add the Configuration data to the Public variables.
Use the builder to Register the Service instance with the PDFRepository and Build it to a new _container. Resolve the service and call the Write function to retrieve the report name.
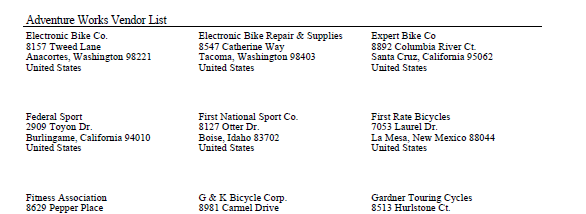
Build the app in VS 2017 and Run the application to view the results. The pages have the Header and 3 columns with a complete address in each row.
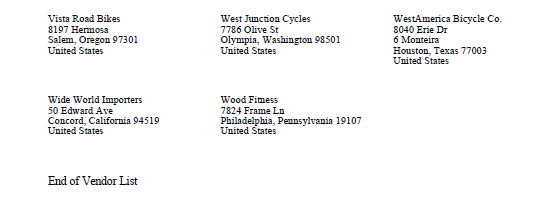
The last page of the PDF document has the last row indicating it is the end of the document.
Running the DLL with a cmd to Open the File
An additional step to use a call System.Diagnostics.Process may be used to open the report after it has been created. The call does not work well when Debugging in Visual Studio as it appears to "Open" the file in a Hidden Acrobat application. When you attempt to open the .pdf file from its Saved location, a message tells you it is already open. When you force the Acrobat closed in Task Manager and open the PDF, a message informing you that the File is Corrupt appears.
This code calling Process.Start was added after debugging and opening the file from its Saved Location. To run the Published file, go to Run, type dotnet "C: < your location\itextsharpApp.dll > " and the call to Process.Start will work as expected.

