Crystal Reports - Basic Web Page with Report
Introduction to Crystal Reports Wizard
This article will describe how to create an ASP .Net web project and add a Crystal Reports Viewer and Report to the Project using the Wizard.
Create the Project for Crystal Reports
Create a new ASP .Net Web Application project in Visual Studio.
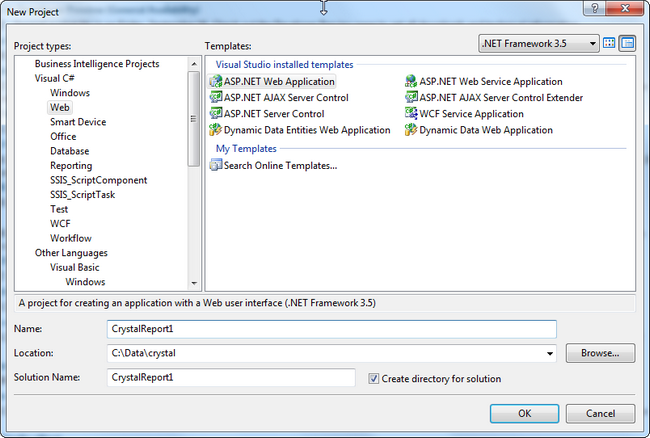
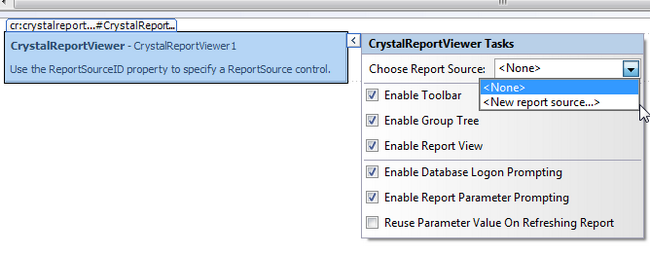
From the ToolBox, add a Crystal Report Viewer to the Default.aspx web page. From the Choose Report Source, select New Report Source.
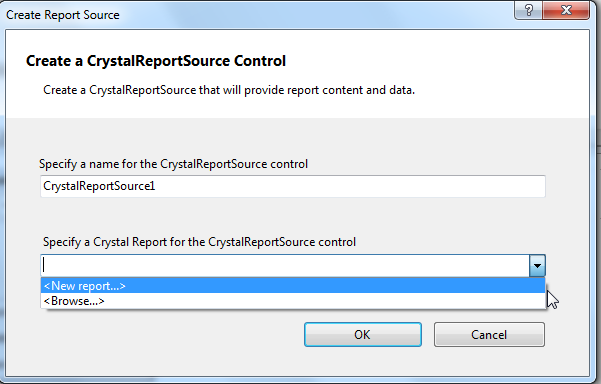
The Wizard will pop up and request a Crystal Report for the CrystalReportSource control. Select New Report and click OK.
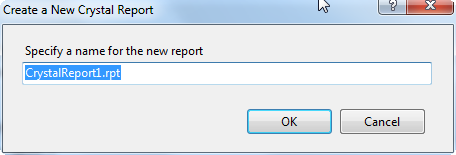
Enter a name in the popup box for the report.
Using the Crystal Report Wizard
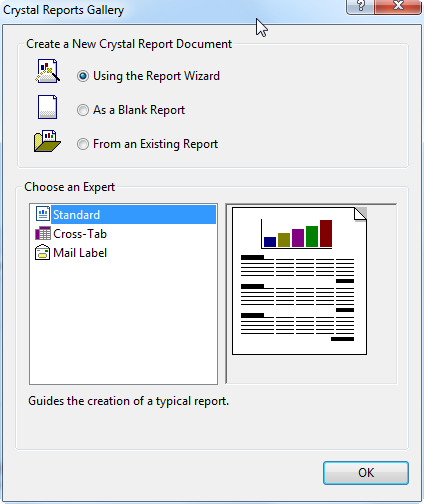
The CrystalReport Wizard will open and for this article, a Standard report will be used.
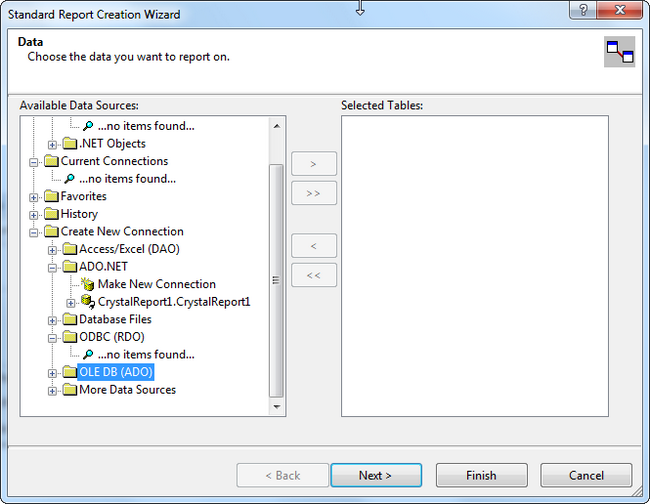
A SQL Server data source will be used via OLE DB (ADO). Double click on the OLE DB to get the OLE DB Provider popup to open.
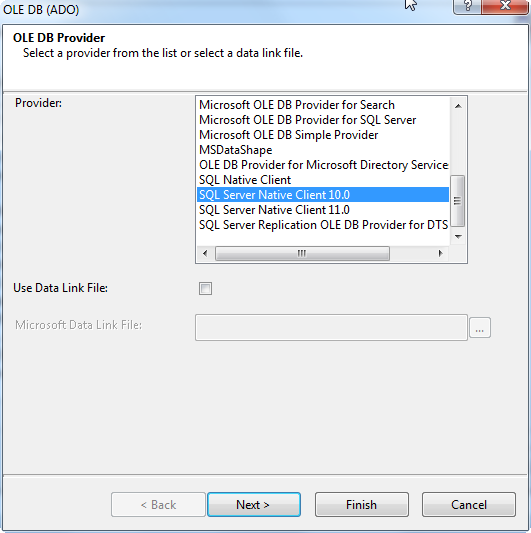
In the Provider name, select SQL Server Native Client 10.0 for SQL Server 2008.
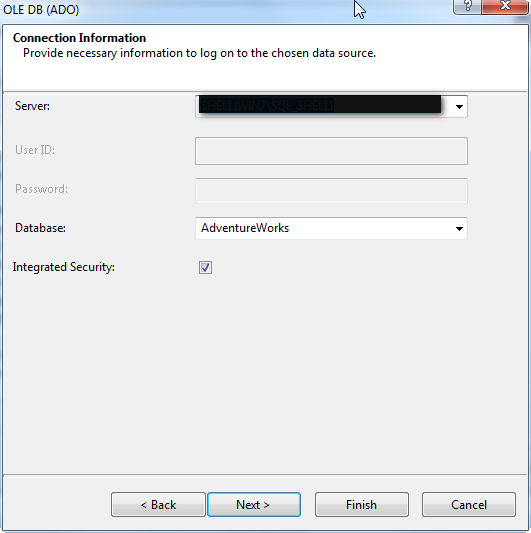
Specify the connection information in the pop up for the Database and Server. A UserID and Password may be specified. My project is using Integrated Security.
Select the data to use in the Crystal Report. This article is using data from the View Purchasing.vVendor in AdventureWorks.
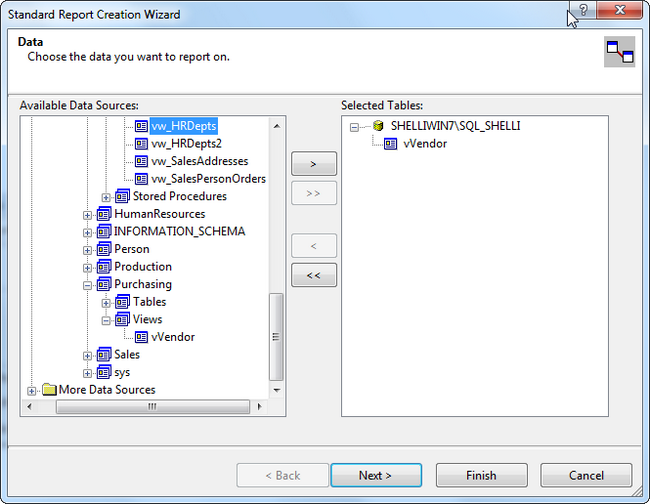
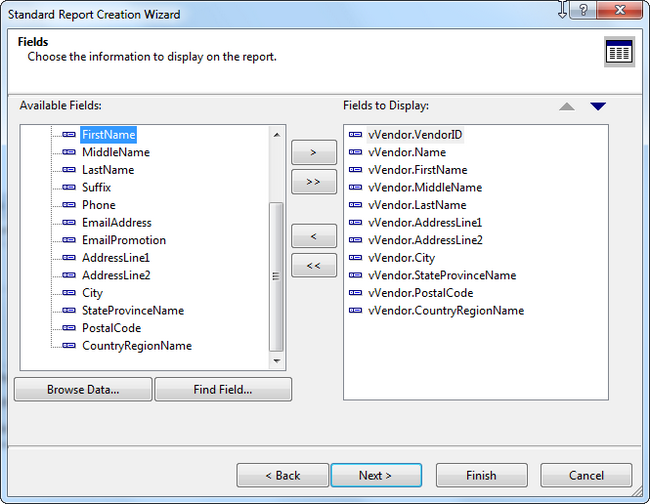
Select the fields to include in the report.
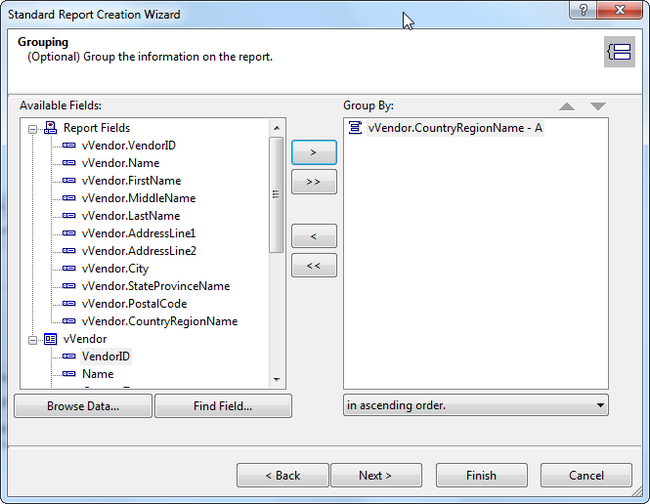
This report does not have any Summarized Fields, but please note that this is useful when creating reports with subtotals and grand totals. This will be covered in separate Crystal Reports articles.
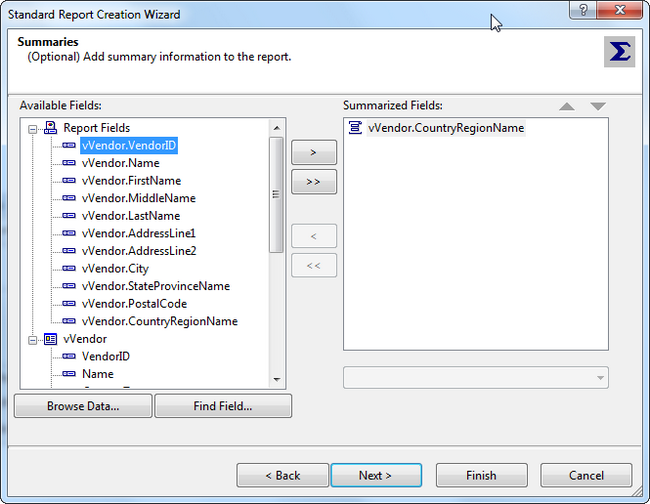
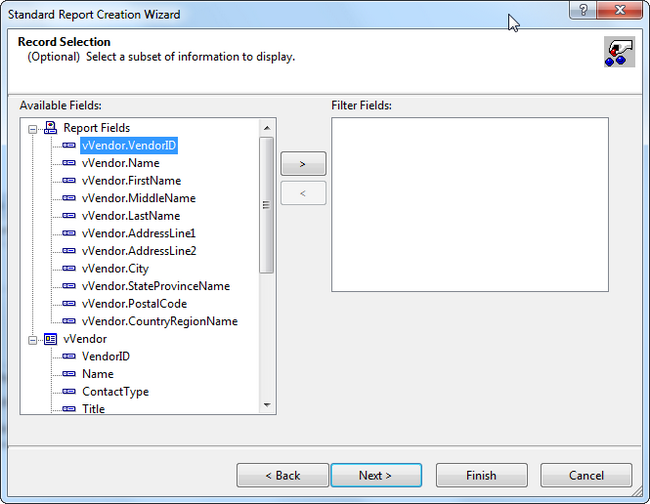
This report does not used any Filter Fields, but is useful when trying to limit the number of records with criteria. This will be covered in separate Crystal Reports articles.
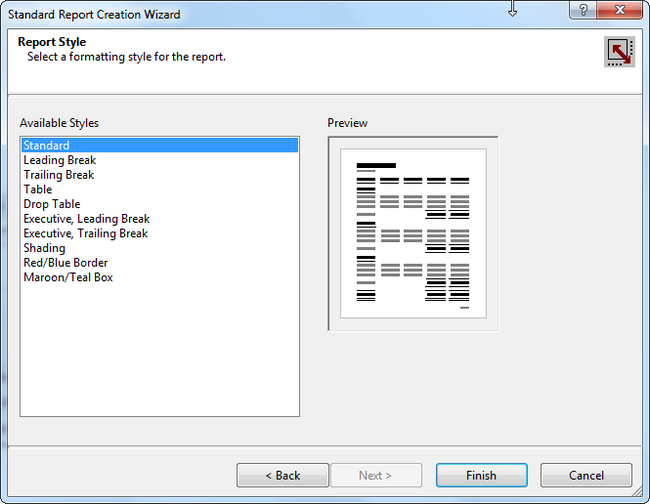
Crystal Report Style Standard is used in this report.
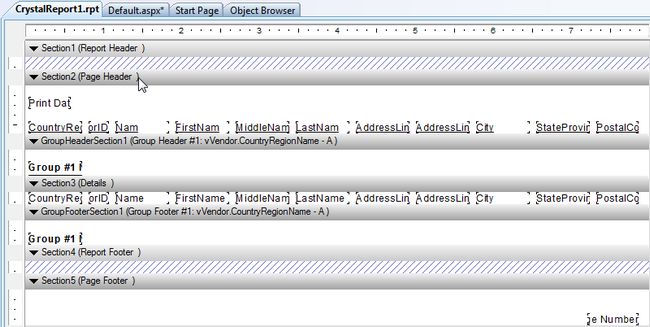
Design View of the Crystal Report
Preview of the Generated Crystal Report
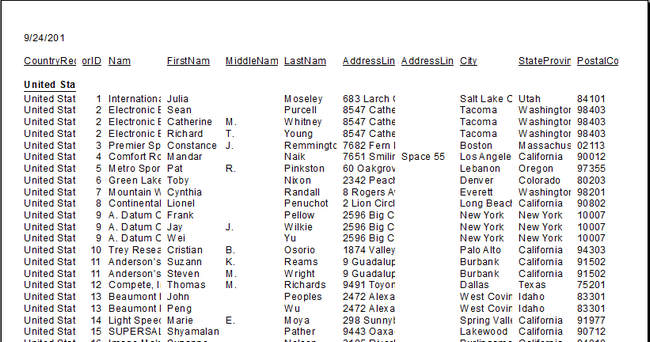
Creating a Crystal Report with the Wizard is simple, but formatting the report is also important to make it readable. The next article covers some basic formatting here:Crystal Reports Formatting.
