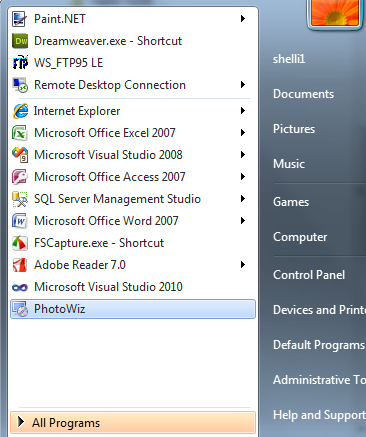
Visual Studio - Windows Setup and Deployment Project
Setup and Deployment Wizard Project
This article describes how to create a Setup and Deployment Project for a Windows Application created in Visual Studio using the Setup Wizard. Additional information about how to ensure that the project appears in the All Programs menu is included as well as how to include an icon in the menu for the Windows App.
Adding a Setup and Deployment Project
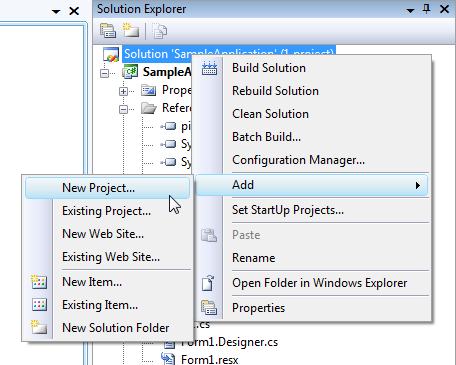
While in Visual Studio in your Windows Application, right click on the Solution and select Add, New Project.
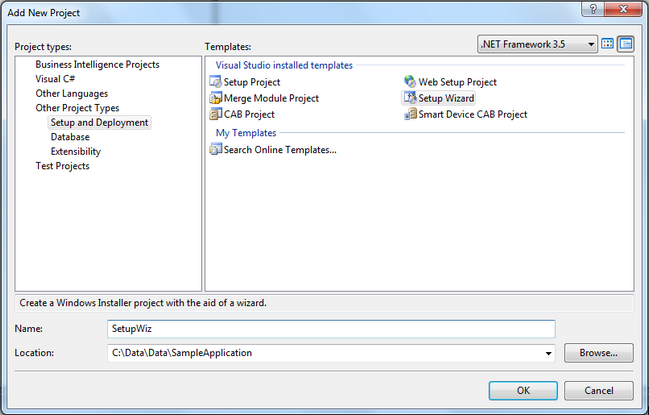
Select Setup and Deployment from Other Project Types and select Setup Wizard.
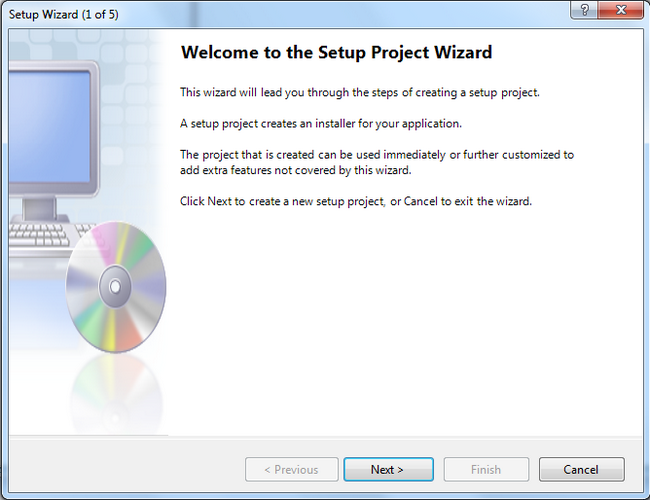
The Wizard begins, click Next.
Select Create a setup for a Windows application and click Next.
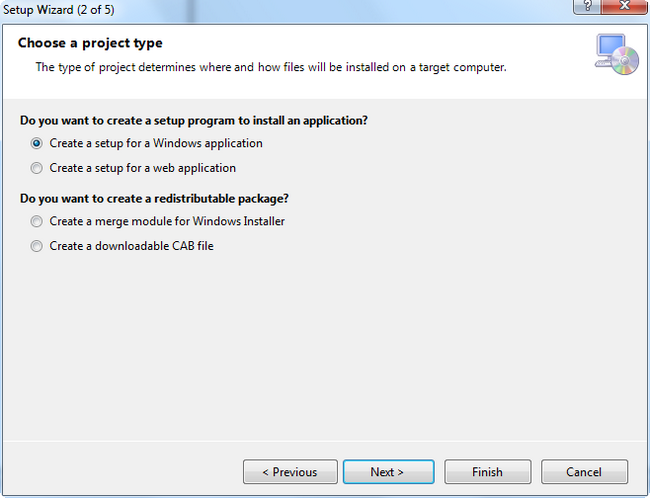
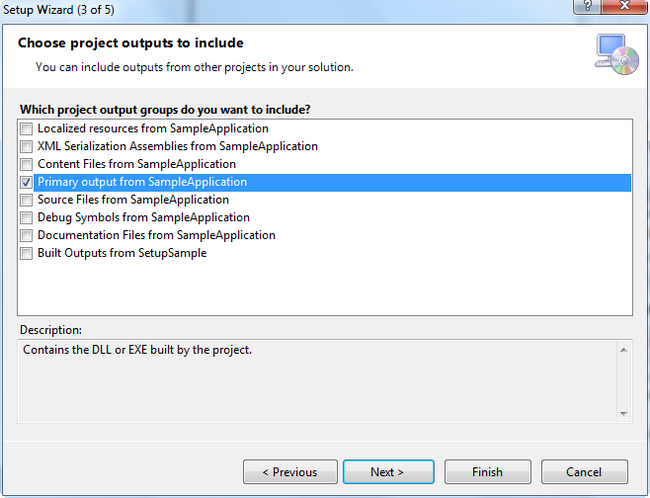
Select Primary Output from <Your Application> and click next.
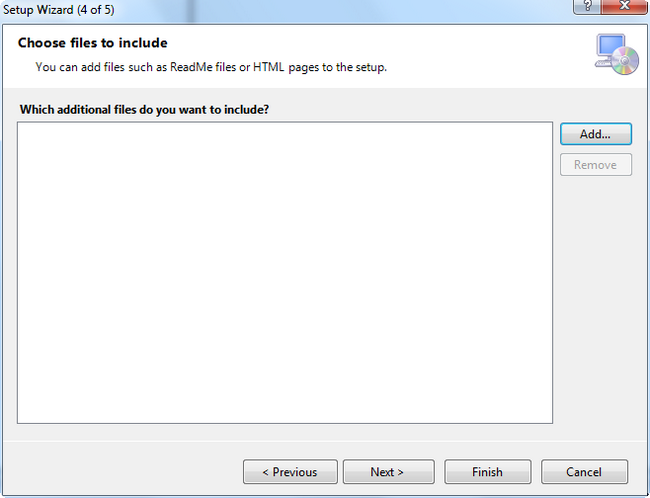
Select any other files to include in the Setup project by clicking Add.
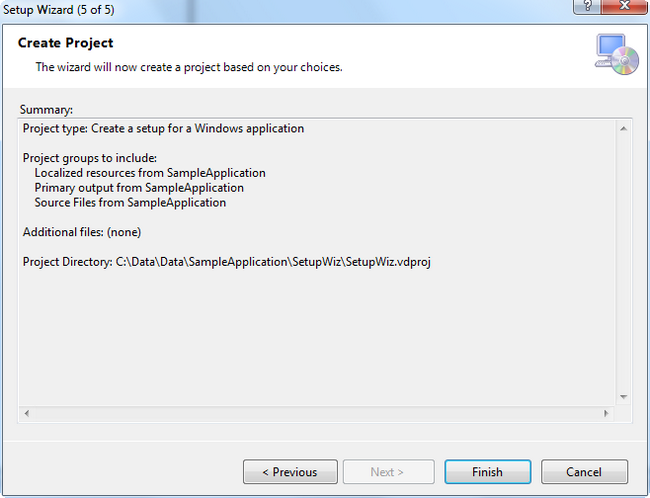
Click Finish to complete the Setup Project
Customizing the Setup and Deployment Project
Click on the Application Folder in the FileSystem tab. If it is not open, click on View in the Menu bar, select Editor and click on FileSystem. Take note of the Default Location Property. The Manufacturer and ProductName should be set for the project prior to building it.
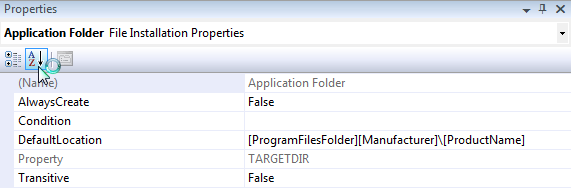
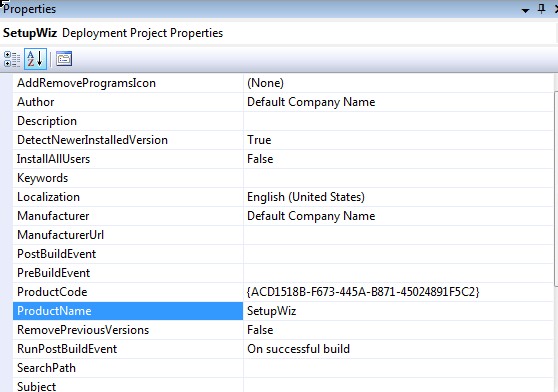
Click on the Deployment Project Name and set the ProductName to the application name you want to appear in the Programs folder and Manufacturer to the name of the folder within the Programs folder that you want the application to be created inside.
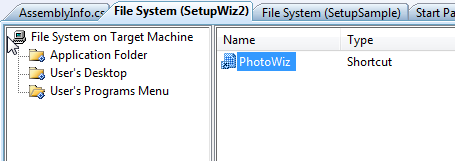
The application will not install in the Start\All Programs folder automatically. A shortcut must be added to the User's Program Menu from the Application Folder. To do so, right click on the Primary Output from <Your ApplicationName> and select create Shortcut to Primary Output...

Rename the Shortcut to the name that should appear in the All Programs menu.
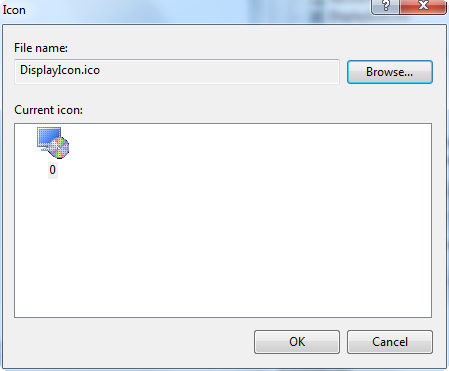
I added an icon to the Properties that will also appear in the Start\All Programs menu. Click on the Setup Project and select Properties and click on the AddRemoveProgramsIcon. The icon must be added to one of the FileSystem folders in the setup project to be added.
Testing the Setup and Deployment Project
Run the .msi installation file to test it.
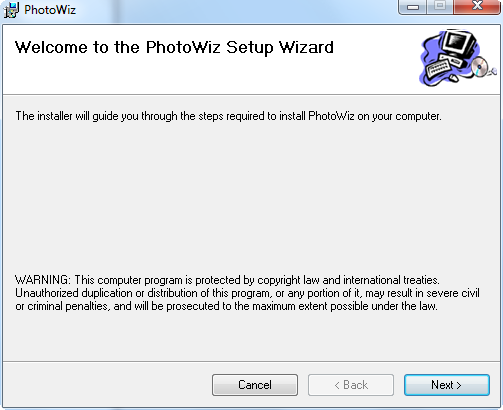
Click through the windows to install your application.
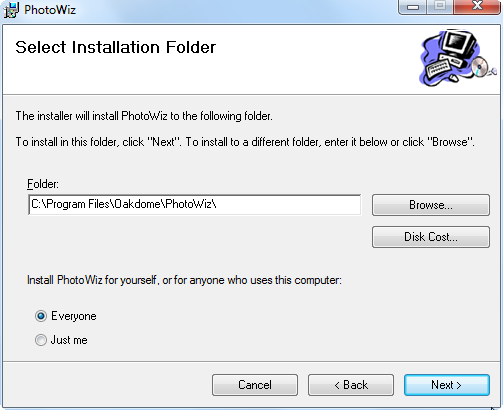
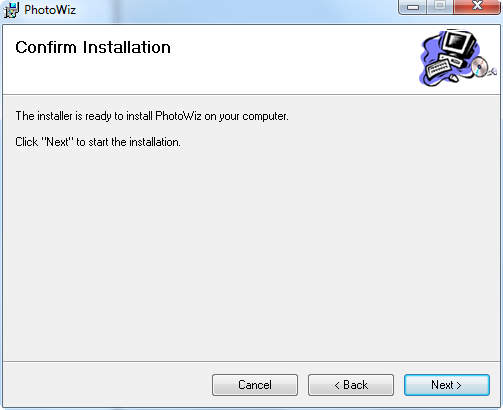
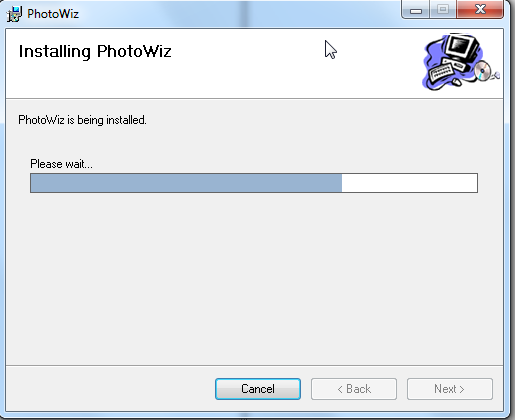
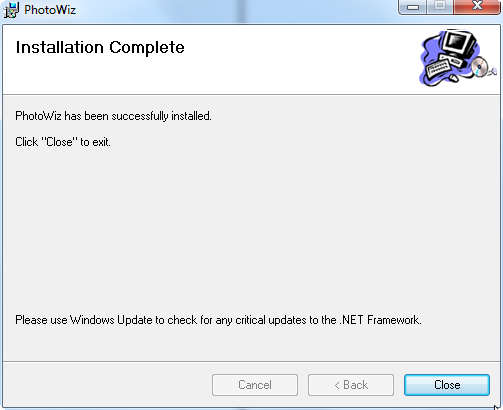
Verify that the program in stalled in the All Programs menu with the correct ProgramName and Icon.
