Crystal Reports and Subreports
Subreports in Crystal Reports
This article provides step by step instruction on how to create and use a subreport in a Crystal Report on a WebForm (.aspx file). The main report will be based on a data set of Customers from the AdventureWorks database. The subreport dataset will be based on these same customers orders: Order No, Order Date, Total Amounts. Using subreports in Crystal Reports is very easy to do compared to subreports in SSRS as there are only a few steps to link the reports together - no report parameter is required and no query parameter is required which makes the processing time less than an SSRS report using a Subreport, but not less than an SSRS Composite report using grouping.
Creating the Data Sources for the Reports
The data sources for the parent\master report and the child\subreport are Views that are created in SSMS on SQL Server 2012 in the AdventureWorks database.
CREATE
VIEW [dbo].[vw_Customers]
AS
SELECT Sales.CustomerAddress.CustomerID,
Person.Contact.FirstName + CASE WHEN len(Person.Contact.MiddleName) > 0 THEN ' ' + Person.Contact.MiddleName
ELSE '' END + ' ' + Person.Contact.LastName AS CustomerName,
Person.Address.AddressLine1 + CASE WHEN len(Person.Address.AddressLine2) > 0 THEN ' ' + Person.Address.AddressLine2
ELSE '' END AS AddressLn1,
Person.Address.City + ', ' + Person.StateProvince.Name + ' ' + Person.Address.PostalCode AS AddressLn2
FROM Sales.Customer
INNER JOIN
Sales.CustomerAddress ON Sales.Customer.CustomerID = Sales.CustomerAddress.CustomerID
INNER JOIN
Person.Address ON Sales.CustomerAddress.AddressID = Person.Address.AddressID AND
Sales.CustomerAddress.AddressID = Person.Address.AddressID
INNER JOIN
Sales.Individual ON Sales.Customer.CustomerID = Sales.Individual.CustomerID
INNER JOIN
Person.Contact ON Sales.Individual.ContactID = Person.Contact.ContactID AND Sales.Individual.ContactID = Person.Contact.ContactID AND
Sales.Individual.ContactID = Person.Contact.ContactID
INNER JOIN
Person.StateProvince ON Person.Address.StateProvinceID = Person.StateProvince.StateProvinceID
And create code for the 2nd View, dbo.vw_CustomerOrders
CREATE VIEW [dbo].[vw_CustomersOrders]
AS
SELECT Sales.Customer.CustomerID,
Sales.SalesOrderHeader.SalesOrderNumber,
Sales.SalesOrderHeader.TotalDue, Sales.SalesOrderHeader.SubTotal,
Sales.SalesOrderHeader.TaxAmt, Sales.SalesOrderHeader.Freight, Sales.SalesOrderHeader.OrderDate
FROM Sales.Customer
INNER JOIN
Sales.SalesOrderHeader ON Sales.Customer.CustomerID = Sales.SalesOrderHeader.CustomerID
Create and set up the Crystal Reports
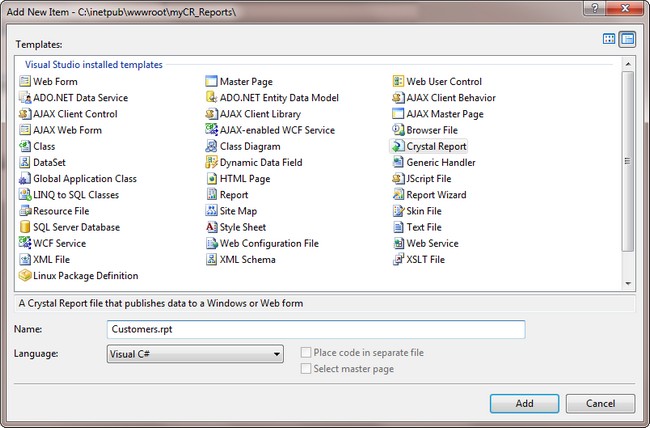
Open up Visual Studio to create a new website and then Add a New Item and select Crystal Report and change the name to Customers.
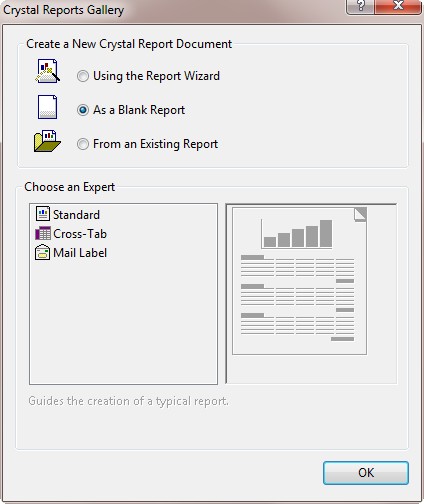
Select As a Blank Report from the box that will pop up after you clicked Add in the previous dialog box.
In the Field Explorer, Right Click on the Database Expert and click the Plus Sign next to the OLE DB (ADO) folder under the Create New Connection folder. A pop up will appear allowing you to set up a SQL Native Client connection. Just select your SQL Native Client version, click Next to complete the SQL Server name and Database Name.
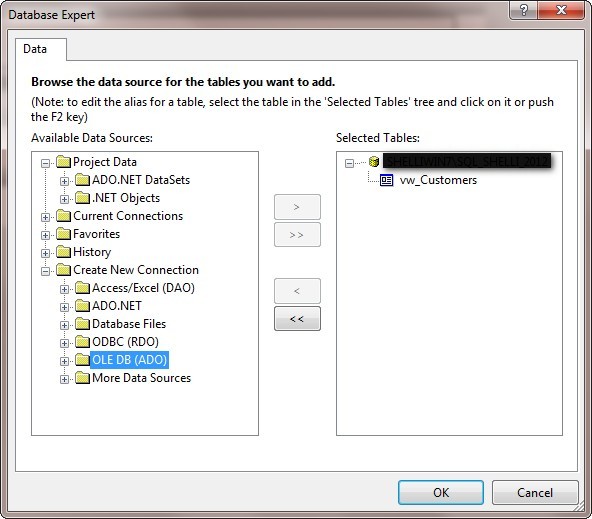
You can then select the database name and click on the View name and add it as the Data Source of the Report.
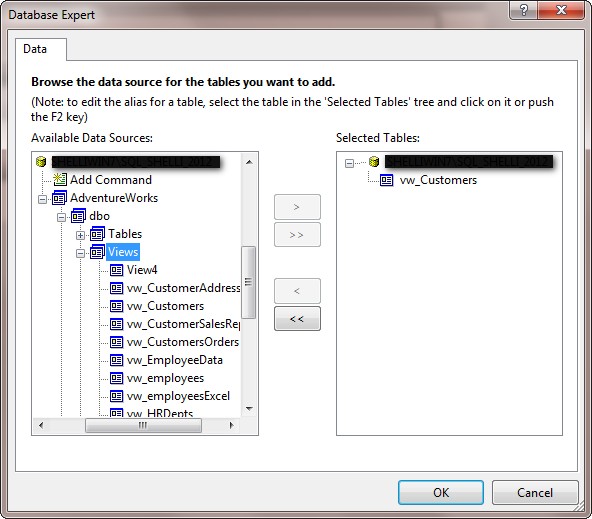
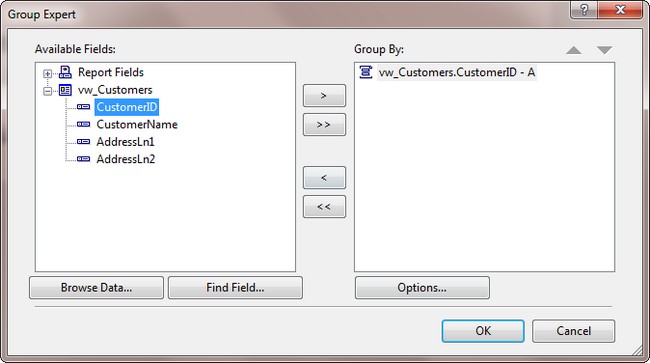
Right click on the body of the report and select Group Expert. Open the View and select CustomerID to Group By. Click OK to close.
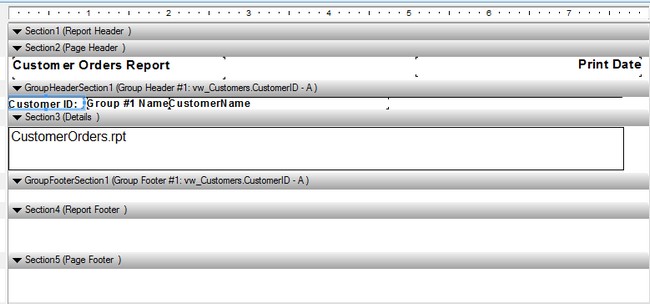
Click in the Field Explorer to drag and drop the CustomerName into the Group Section next to "Group #1 Name" and Right click and click Insert TextObject to add a Text Box that you can manually type in "Customer ID:". This will help the End User understand what they are looking at in the report.
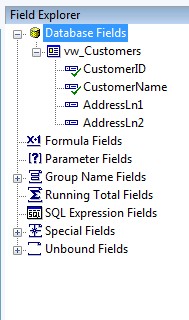
View of the Group Section with each textbox object changed to a Bold Font.

Create and add a 2nd Crystal Report to the project called CustomerOrders.rpt as a Blank Report. Go to the Database Expert and the data Source should be available under OLE ADO. Just select the View vw_CustomerOrders as the source. Add each field by dragging and dropping it in the Details section of the Report from the Field Explorer under Database Fields.
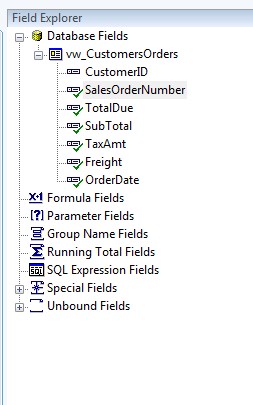
The view of the report. As you drag and drop the fields, the Page Header section is populated with a TextObject of the same name with an Underline. I eliminated the white space between the Report Header and Footer as I will not be using them in the report as a subreport.

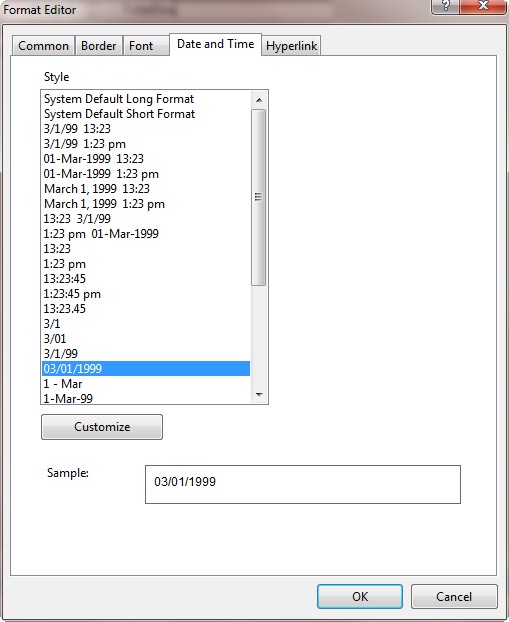
Right click the Order Date field and select Format Object to change the format of the Date and Time from System Default Short Format (which includes the time) to by the 03/01/1999 format. It will look cleaner than the default on the report.
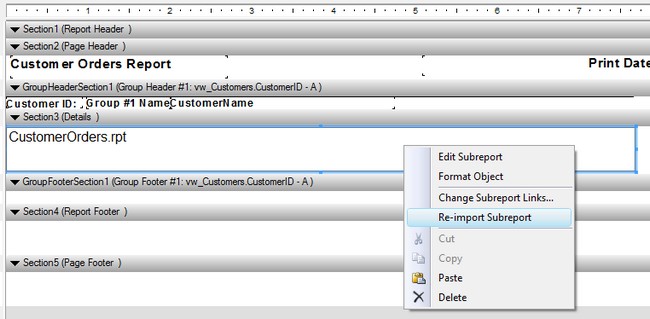
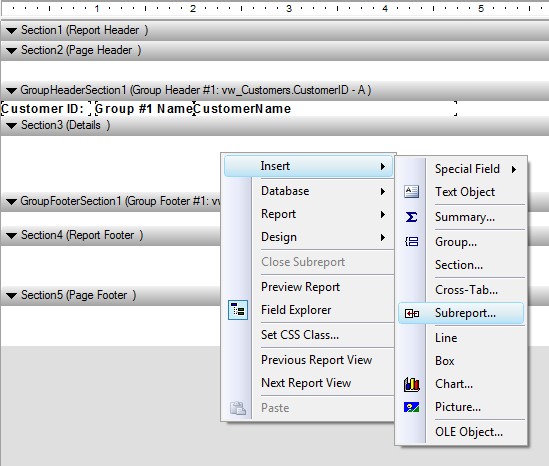
In the Customers.rpt report, Right click on the body of the report and select Insert, Subreport. Hover over the Details section (a box will appear under the cursor) and place the box as far to the left inside of the Details Section.
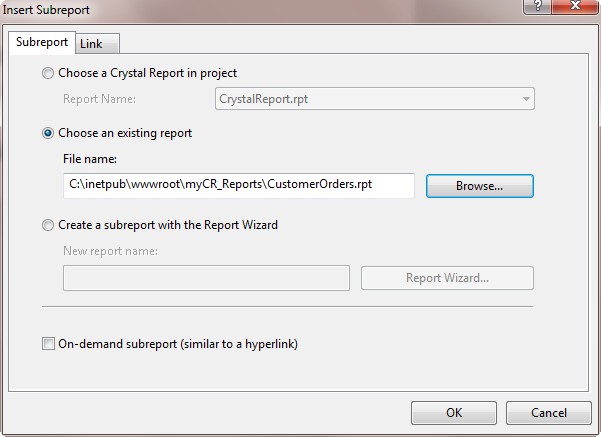
A pop up dialog box will appear. Select Choose an Existing report option and browse to the location of the CustomerOrders.rpt. Click on the Link tab.
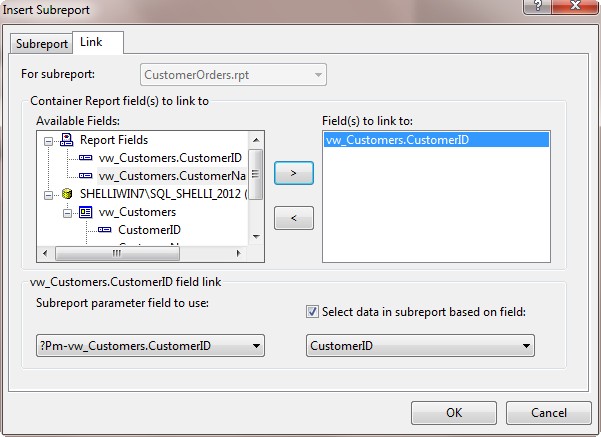
Select the CustomerID field from the Report fields and click the Arrow to add it to the Fields to link to Box. The Subreport parameter field to use will be automatically set for you.
I added a Text Object to the Page Header and changed the Font size and made it bold. I also added the Special Field of Print Time to the Header and formatted it as well. I put a line in at the top of the Group Section to separate the Customers visually once the report renders.
Add a Web Page With a Crystal ReportViewer and ReportSource
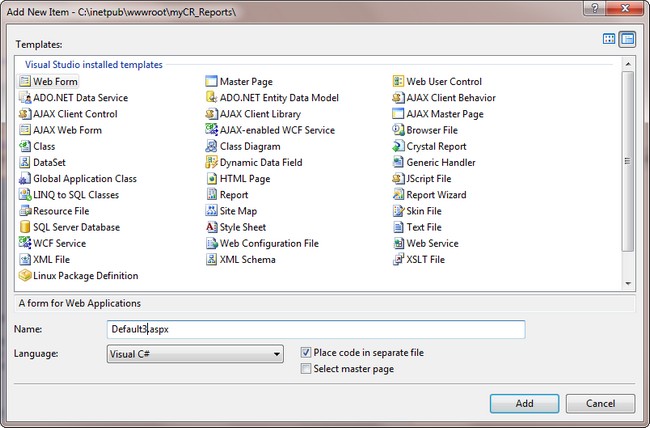
Add a new item of a Web Form to the project.
From the Toolbox, add the Crystal ReportViewer to the WebForm and then select the ReportSource and select the Customers.rpt report.
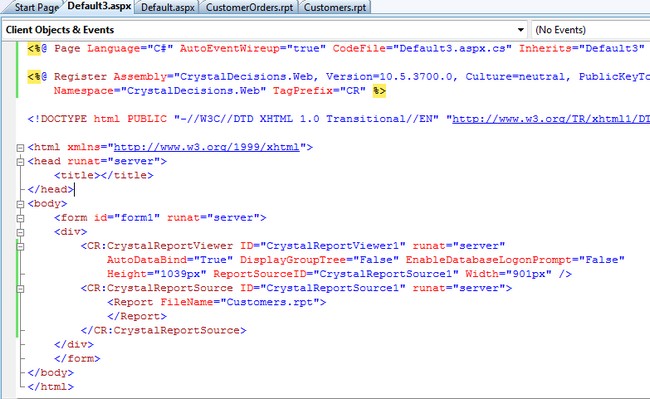
Set the webForm as the Start Page by Right clicking on it. Run the project and view the report.

If you still needed to make changes to the subreport, you can, just remember to right click on it in the Main report and select Re-import subreport to get the updated version.
