SSIS Lookup Data Flow Transformation
SSIS Lookups - Finding Exact Data Matches
This article describes how to create a Lookup Data Transformation Task in SSIS. The data sources for the project will be MS Access database tables for the Data Source and the Reference Data Source. The Tables contain the names of places in Hawaii. The names that are Exact Matches are to be located in the reference file. The output will sent to 2 Excel files: one with the Match data and one with the No Match data.
Lookup Data Transformation Background
As previously stated, an Excel data source with a listing of places in Hawaii Counties will be used. A 2nd data source, a Reference data source, from a table in an MS Access database will be used to match the data. The data will be processed through the Lookup task and sent it to another Excel file called Match.xls. The unmatched data will also be sent to a separate Excel file called NoMatch.xls.
Using an SSIS Lookup in a BIDS Project
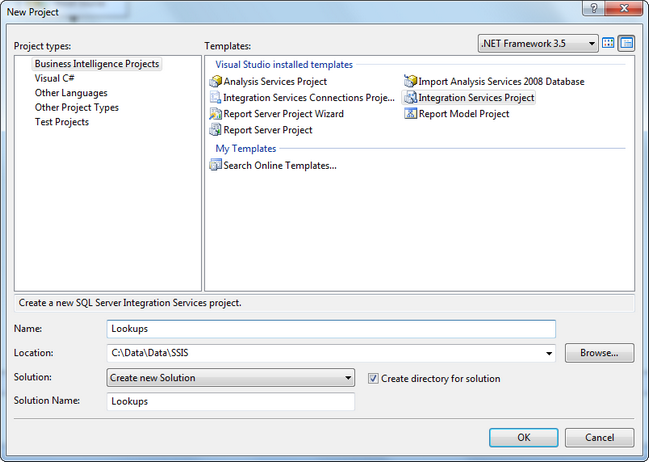
Begin in Visual Studio with a Integrated Services Project.
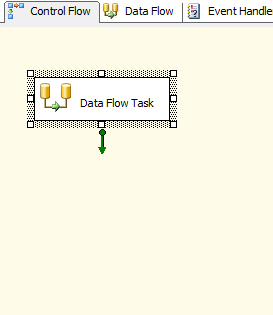
Drag and drop a Data Flow Task on to the Control Flow tab. Click on Data Flow tab.
Lookup Connections
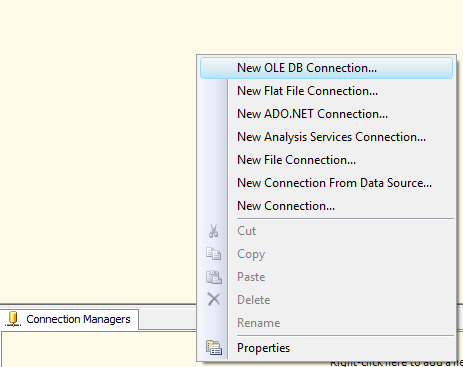
Right click in the Connection Managers tab and select an OLE DB Connection.
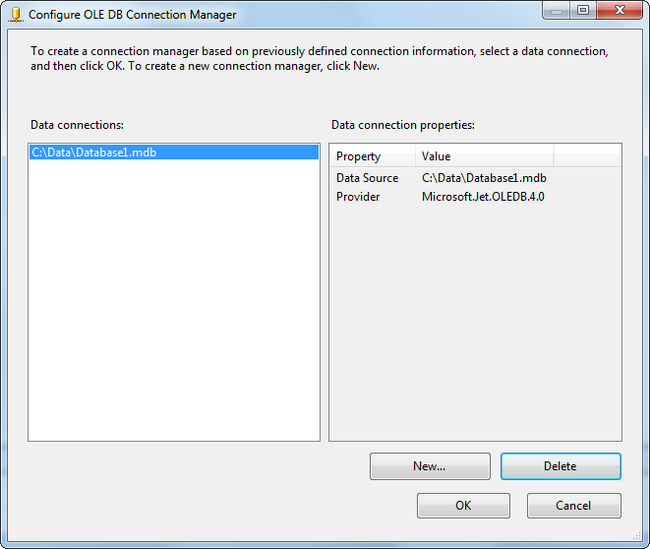
Select the database as the source. This project will use an MS Access database that has a table with the data to search through.
Right click on the OLE DB Source and select Edit to map the source to the Connection.
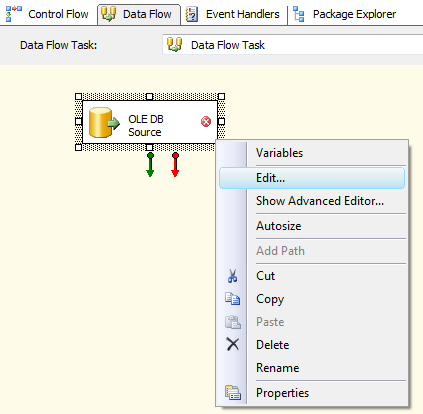
Select the OLE DB connection and the table to use.
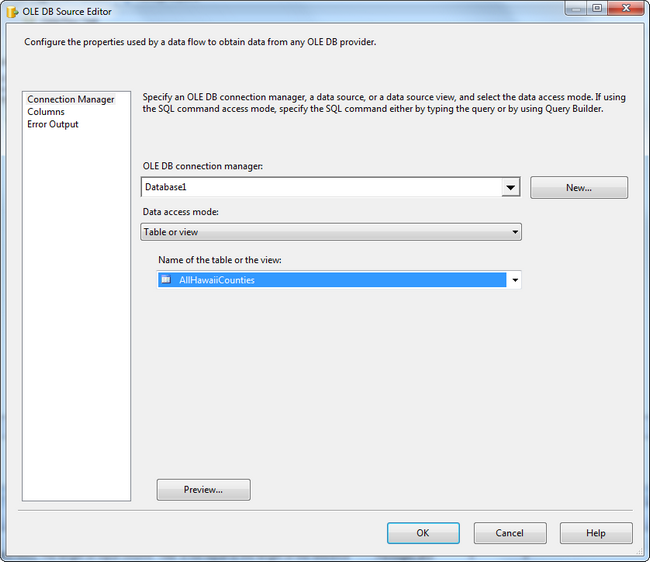
Select the columns to use as output.
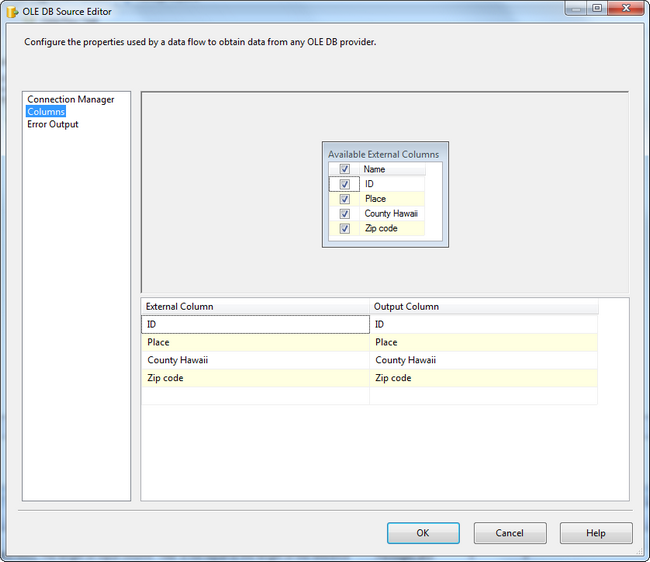
Using the Lookup Task
Add a Lookup Data Transformation Task to the Data Flow tab. Right click on Edit to add the reference table and set up the columns.
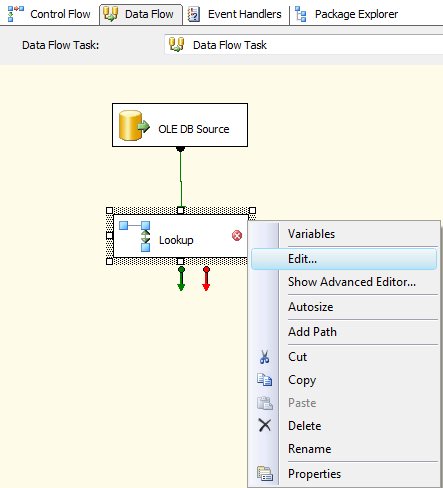
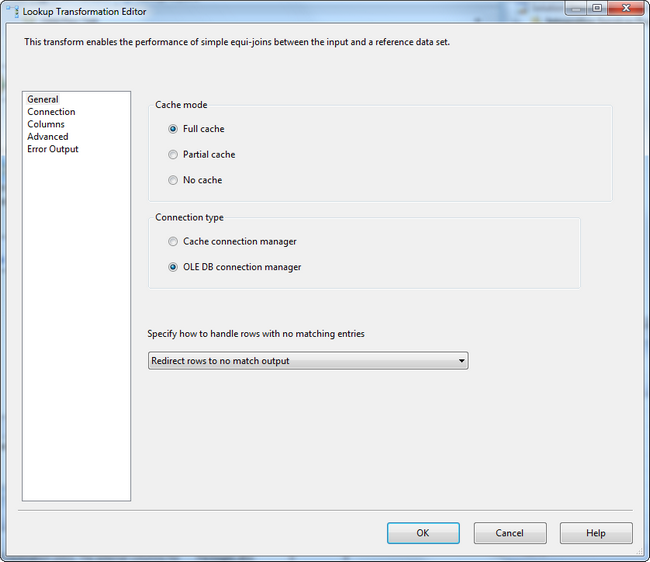
On the General section, select Redirect rows to no match output under "Specify how to handle rows with no matching entries". We will capture this information in an Excel file later.
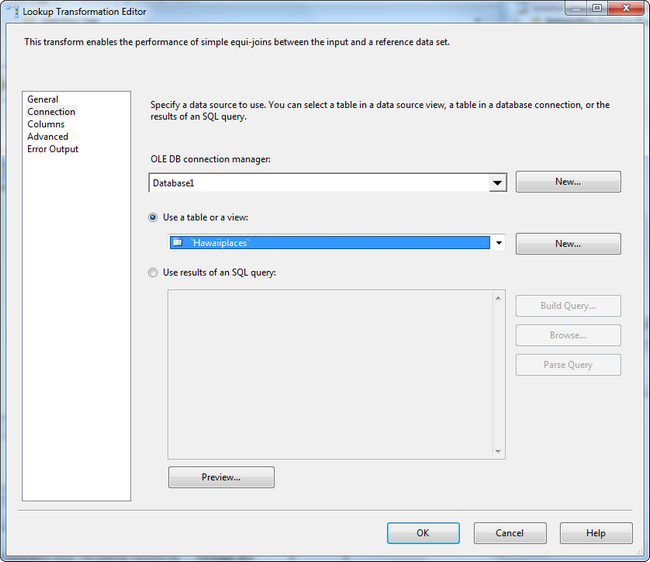
Set the connection for the reference table. This is the list that will be compared to the data source for matching names.
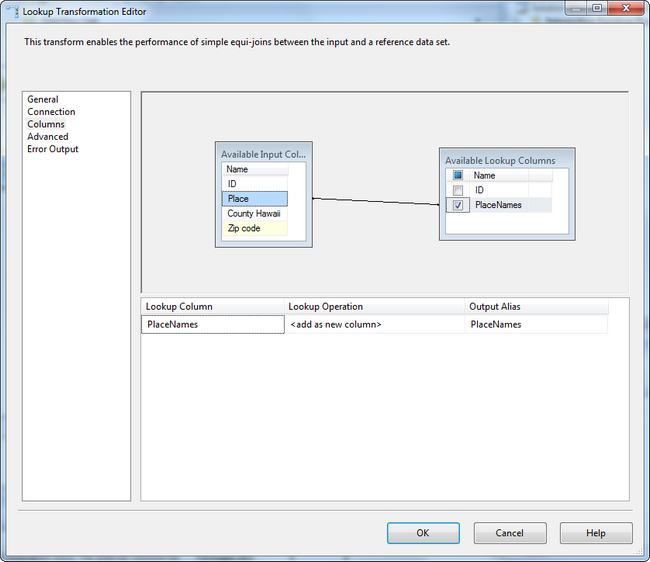
Click on the Available Input columns and drag to the available lookup columns to create a join between the 2 data sets.
Create a new connection for an Excel file to use for the matched data output. Right click in the Connection Managers area and select New Connection.
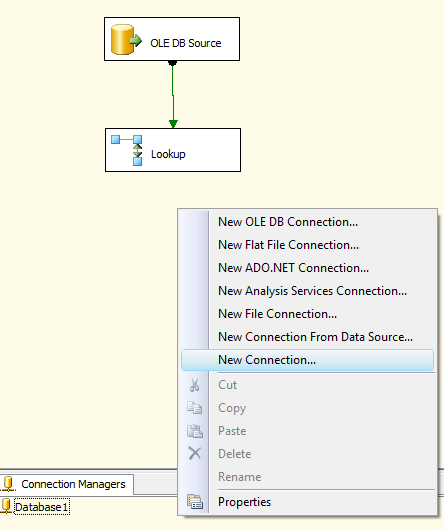
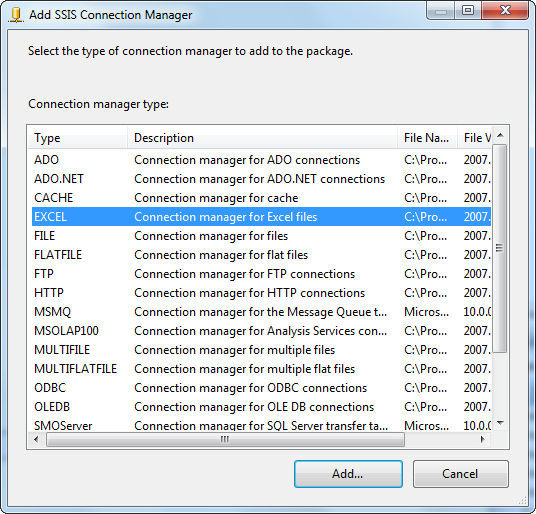
Select Excel as the Connection Manager type and click Add.
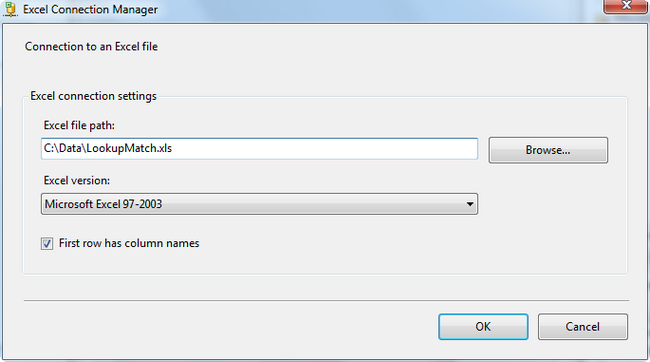
Browse to select the Excel file to use for the matched data and click OK.
Setting up Lookup Output
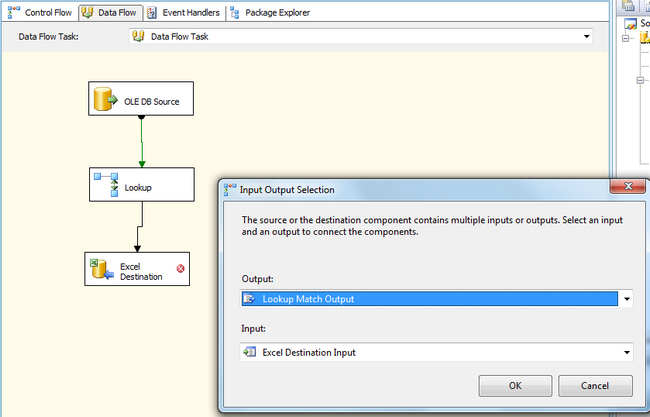
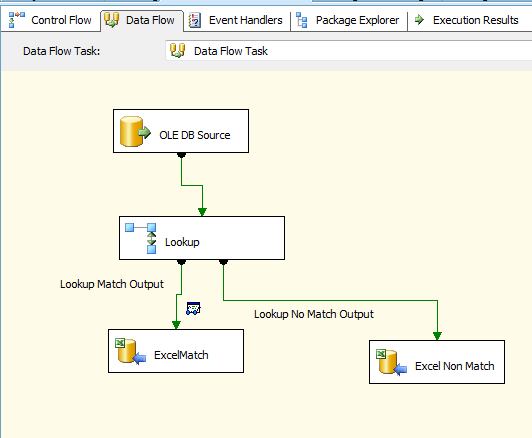
In the Data Flow task, drag an Excel Destination on to the tab and then drag the Green Arrow to this new Excel Destination. A pop up will appear prompting you to select the Input Output type: either Lookup Match Output or Lookup No Match Output. Select Lookup Match Output and click OK.
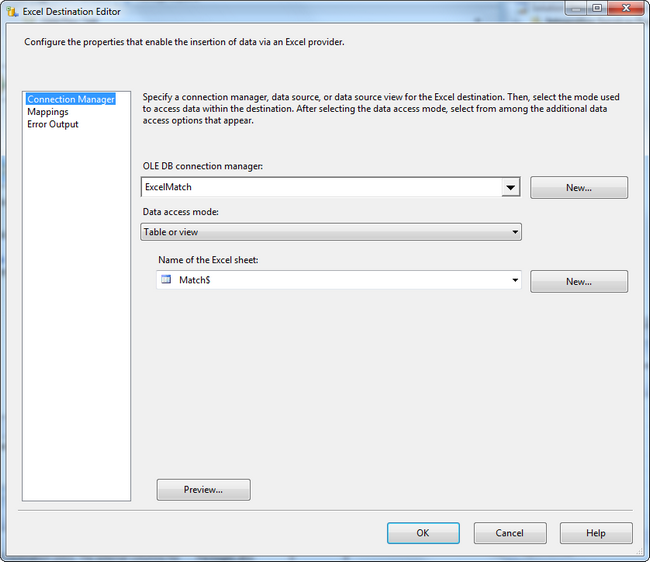
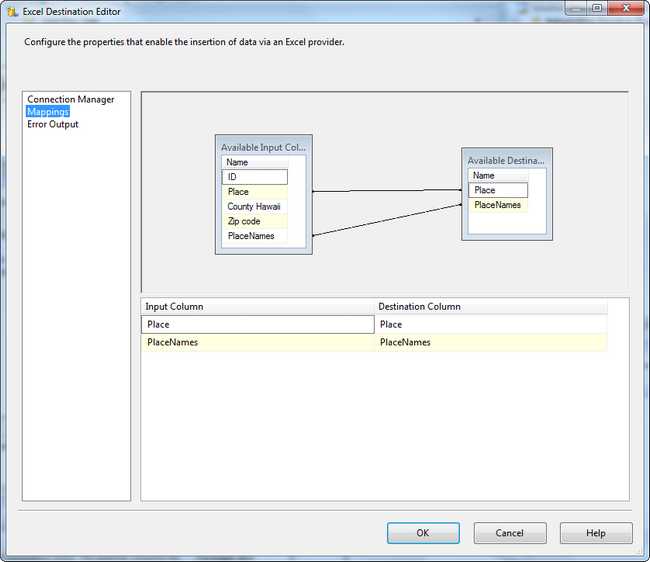
The Excel Destination Editor will open. Select the OLE DB Connection manager of the Excel Match connection and select the worksheet to use. Click on Mappings to set the columns.
Drag the available Input columns to the Available Destination columns to join, if not already mapped.
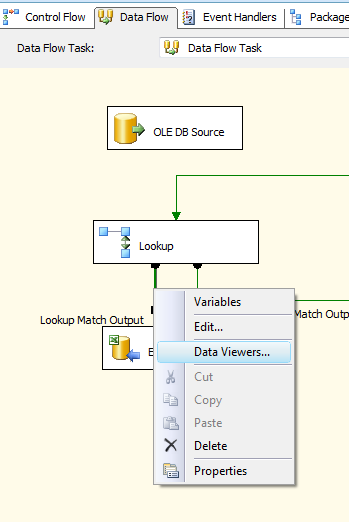
Right click on the Green Arrow between the Lookup Task and the Lookup Match Output Excel Destination and select Data Viewers.
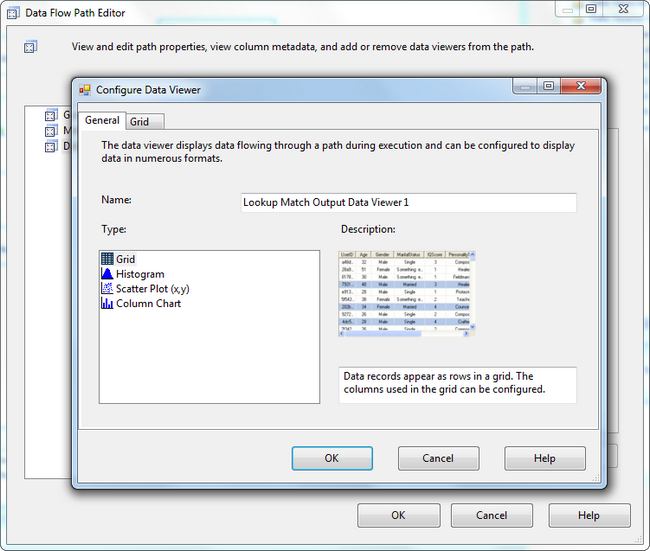
Click Add and select Grid. Click OK to accept the defaults. Note that there are other types of Data Viewers to choose from, if desired.
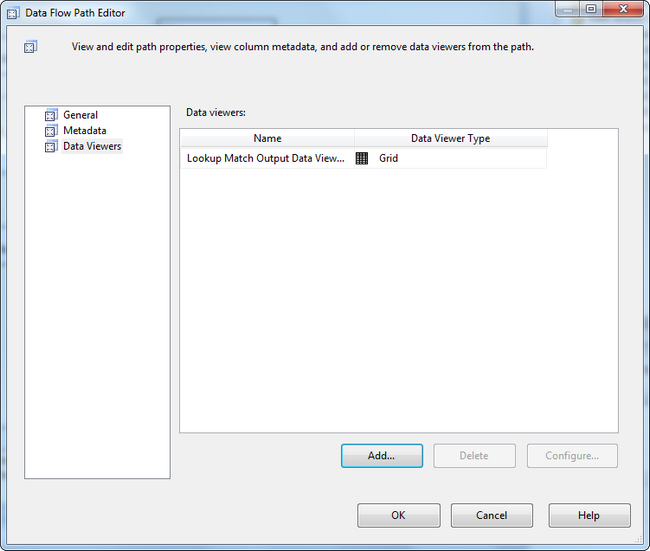
Click OK to add the Data Viewer to the Data Flow.
To add an additional Excel Destination for the No Match Data, repeat the process for the Excel Match data, if desired, by adding another Excel connection and Excel Destination and dragging a 2nd green arrow to it for the No Match data.
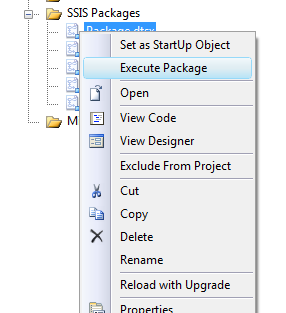
Right click on the Package in the Solution Explorer and select Execute Package.
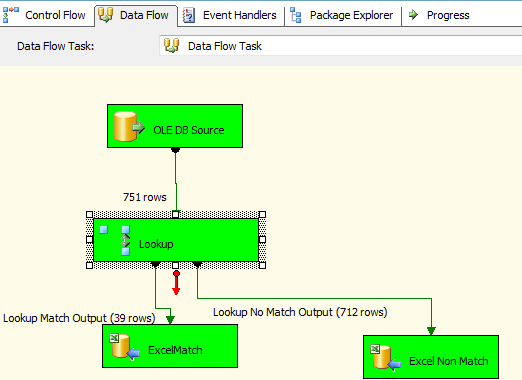
The Data Viewer will pop up showing the matched data.
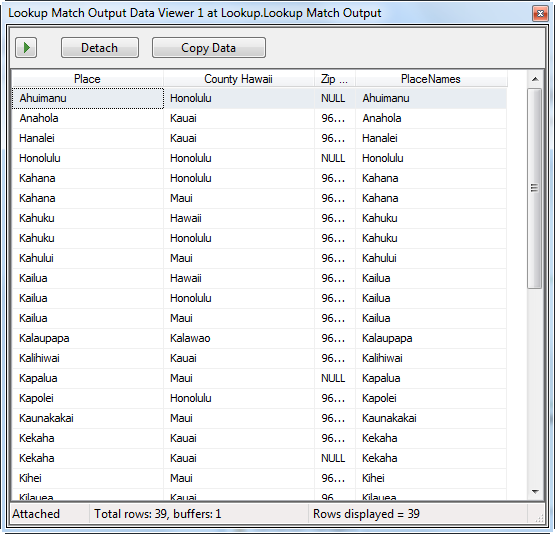
Open the Excel files after the process completes to view the matched data and the unmatched data.
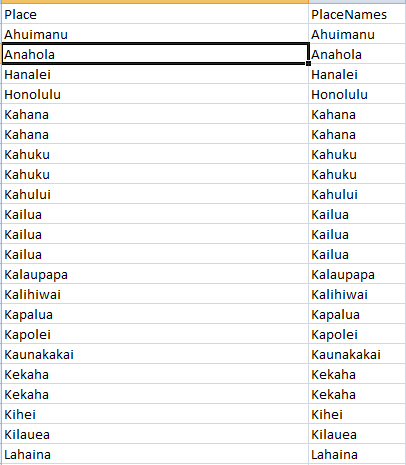
Unmatched Data File
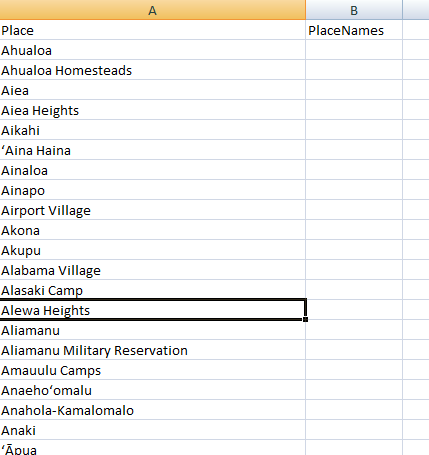
As you can see, the Lookup will only find Exact Matches. If the data is similar, it will still see it as a No Match.
