Labeling the Skeletal System
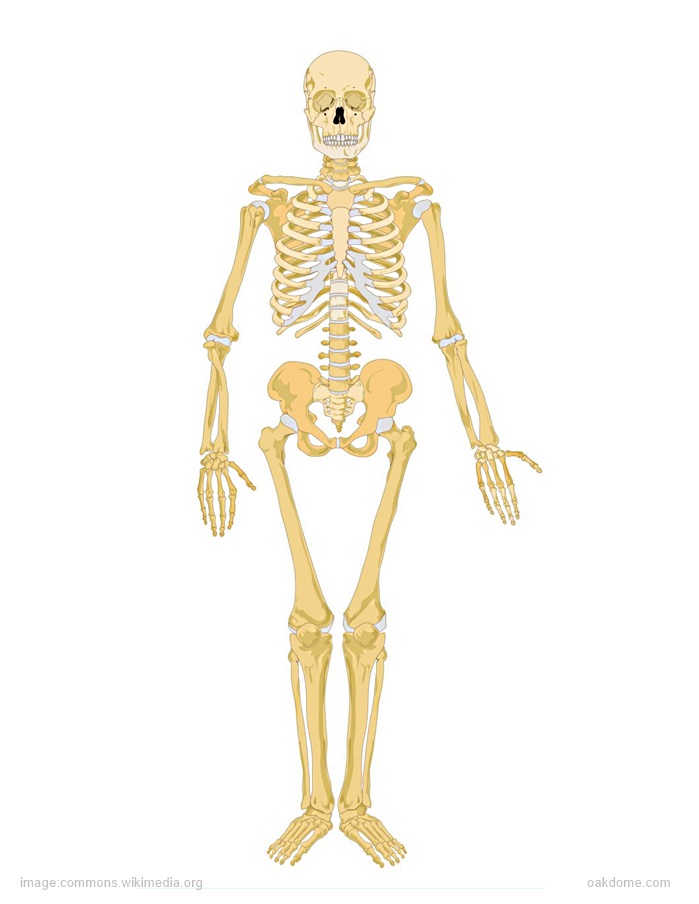
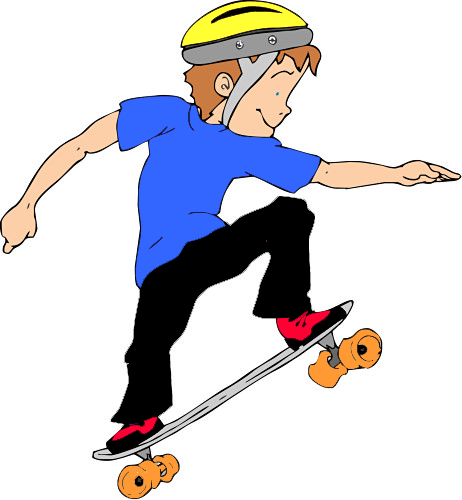
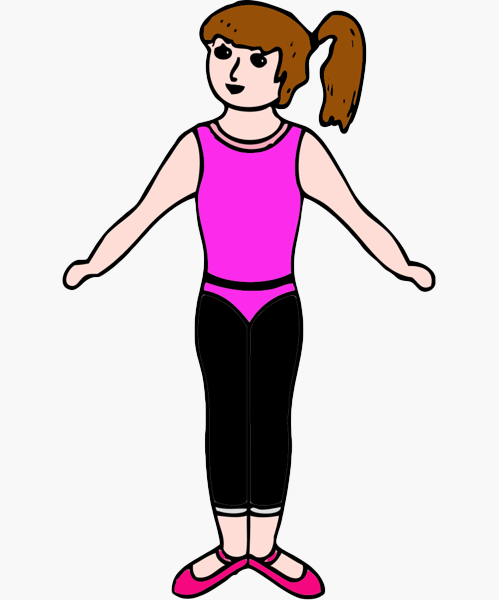
Assignment: Students label the bones of the skeletal system with a graphics program. Students will use the skeleton diagram below to help them find the locations and names of the bones. Students add the names of the bones on a plain picture of a boy or girl. The free graphics program used here is Paint.NET for Windows, but the arrow and text tools used here are common to most paint / graphics programs.
Download: all-images-and-skeletons-pack-for-labeling.zip
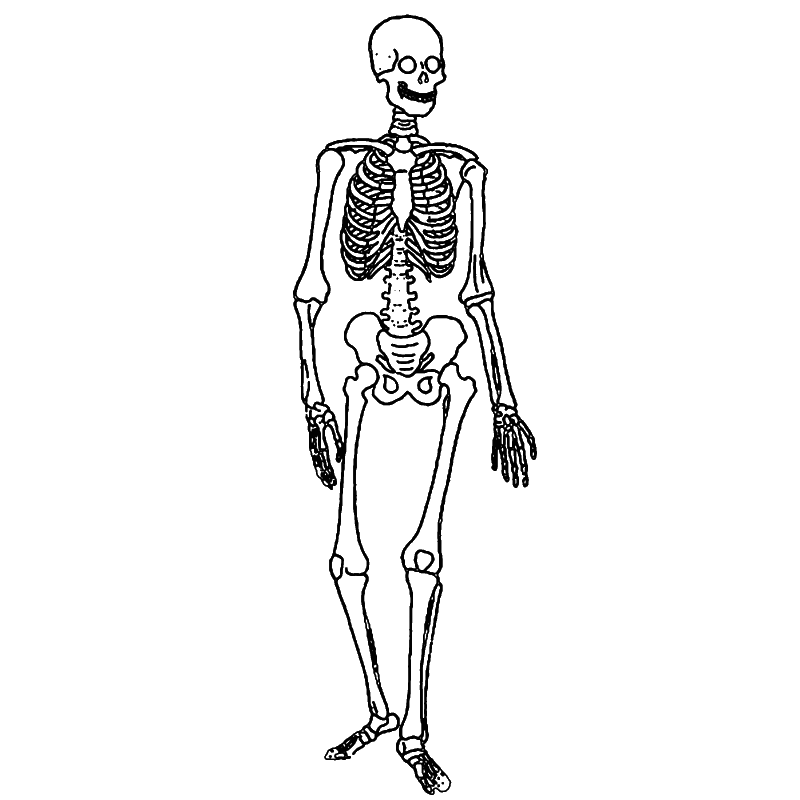
Students can use this image of the skeletal system to pinpoint locations and names of bones.
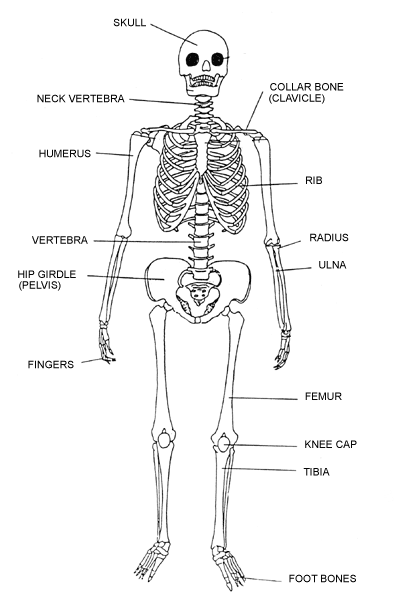
Images for Students to Label
Activity Extension - Extend this activity with digital cameras. Take pictures of the students and have them label the bones on their own photos.


Finished Examples of Labeled Bones
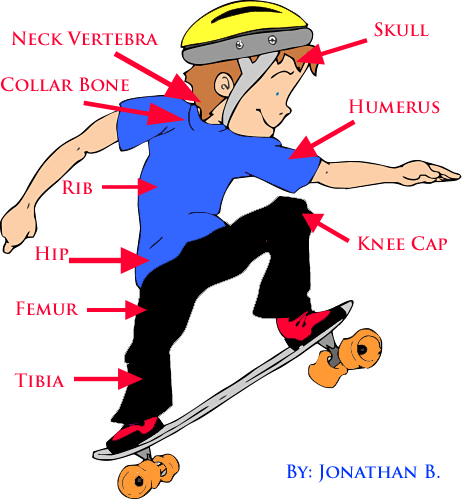
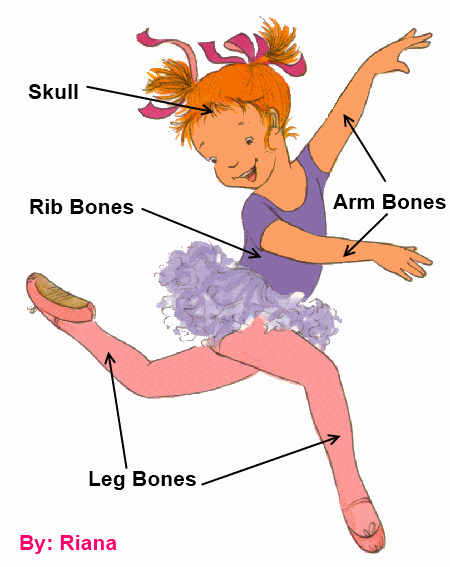
The finished photo should look similar to this. Students may personalize the photo by recoloring the clothing, arrows and fonts. Students should add their names to the completed photo.
How to Label the Bones
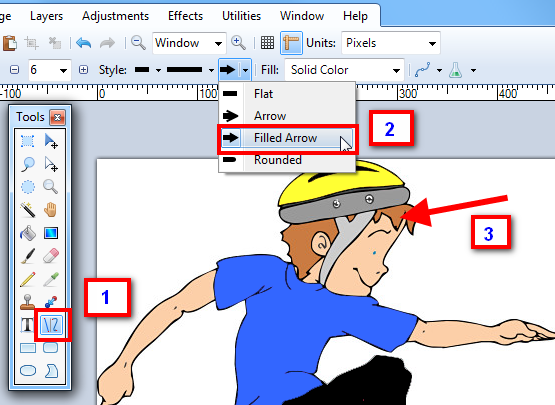
This demonstrates how to label the bones of the body on the photo using Paint.NET.
- Select the line tool on the toolbar.
- Choose the "Filled Arrow" option
- Draw the arrow
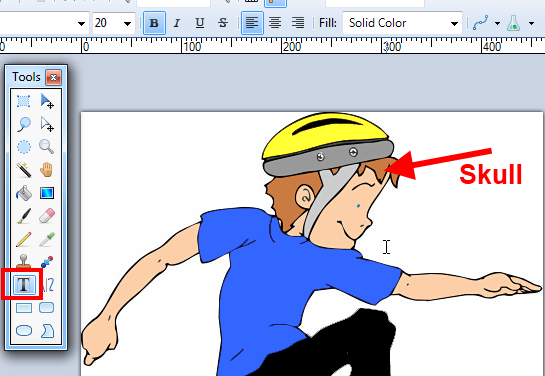
This demonstrates how to add the text to the image for labeling the bones. Choose the text tool on the toolbar and then type the text next to the arrow.
Download this image for labeling of the skeletal system.
Save this skeleton picture to your drive. Open the picture in your photo editor / paint program and draw lines or arrows to the bones. Label the bones with your text tool. Save your finished labeled picture. Insert the labeled picture into a blank document and print.
Alternate Blank Skeleton Image for Labeling
