Create Your Own Wanted Poster
Assignment: Students will use various common photo editing tools including the cropping tool to crop their headshot, the magic wand and eraser tools to remove the background from the headshot picture, and the layers tool to place the headshot on top of the background layer.
Students will use the text tool and font formatting tools to add text. The photo editing program used in this example is Paint.NET.
Grade 3 and up
Download: Paint.NET
Wanted Poster Finished Example

Step One
Open the headshot picture in Paint.NET ( File > Open ) Draw a rectangle around the head with the "rectangle select" tool and then crop the head.
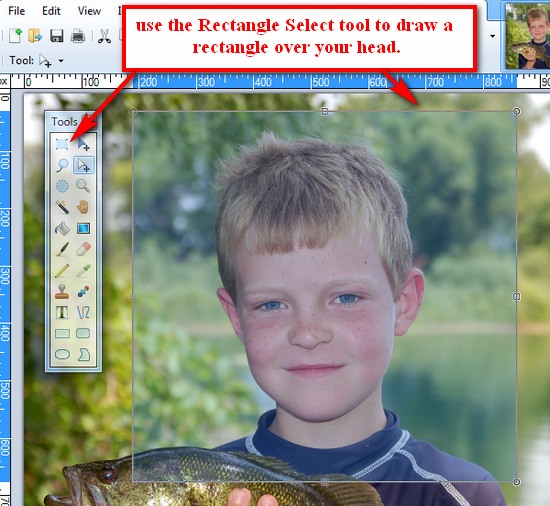
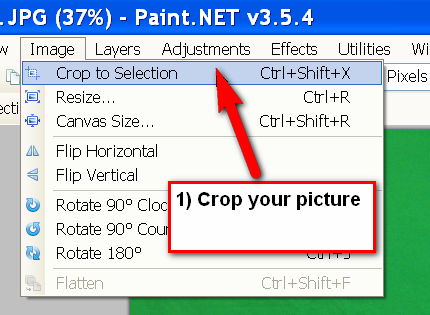
Crop Your Head
You can use the menu or the shortcut Ctrl + Shift + X.
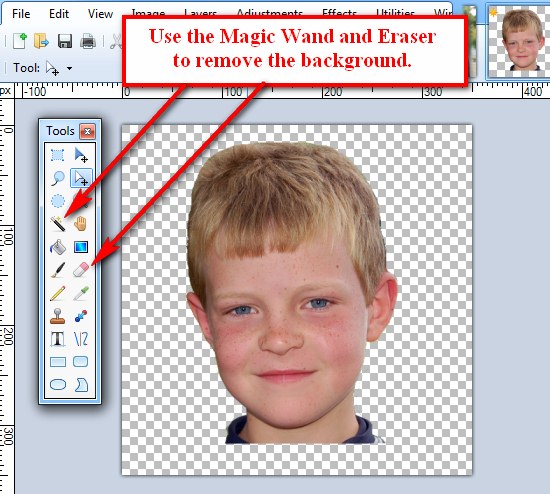
Use the magic wand and eraser to remove the background from behind your head. The areas that are clear are shown by the white and gray checkerboard pattern.
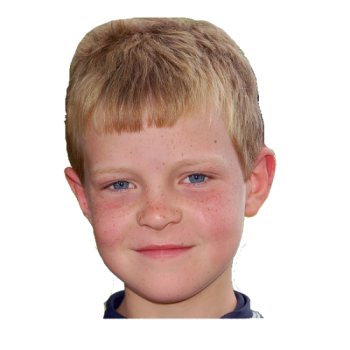
Save the picture of your headshot with the clear background as a .png file to your "My Pictures" folder with your name on it "robert-canlian-headshot-clear.png" It is important to save the headshot as a .png file, it will retain the clear background. A .jpg will not. Here is how it should look when you have removed the background from around your head:
Step Two
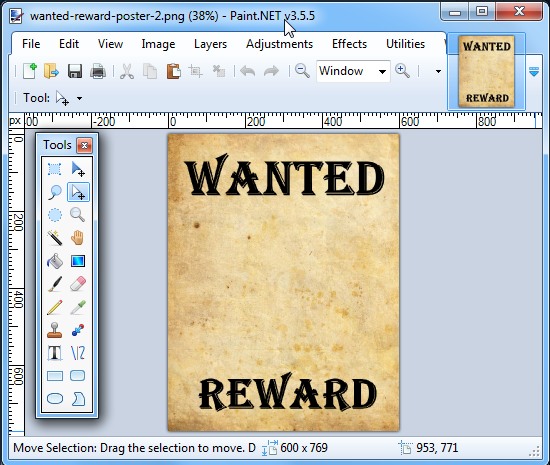
Open the "Wanted" poster picture ( File > Open )
Step Three
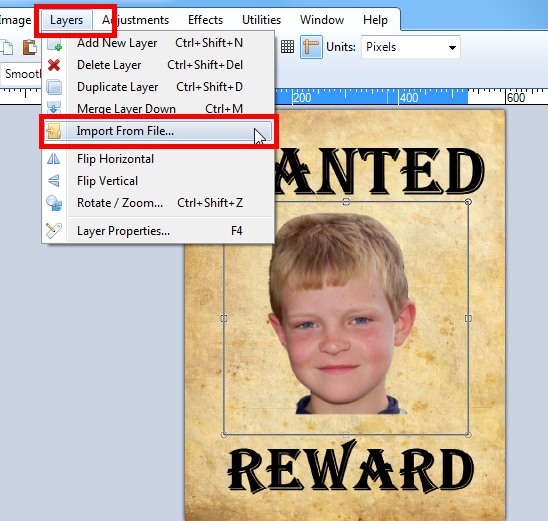
Add your head to the "Wanted" poster ( Layers > Import from file ) The headshot picture is added as a layer on top of the "Wanted" poster. You can resize the headshot picture by grabbing the corners or sides of the rectangle.
