Put Your Head on A Different Body
Online with Pixlr-E (Free) 4 Steps
Assignment: Switch the head of one picture to the body of another picture using the free online photo editor Pixlr-E. Students use the cropping tool to crop the head, the magic wand and eraser to remove the background from the head shot, and the layers feature of Pixlr-E to place the headshot layer over the body layer. Students also learn that .png image files can used to retain the transparent background of the headshot image.
The free online photo editing program Pixlr-E is used for this exercise. The current Pixlr-E interface and toolbar may vary slightly from these instructions. While the icons may change appearance, the tools used remain the same.
Download: Download the tutorial - Google Slides version:
-
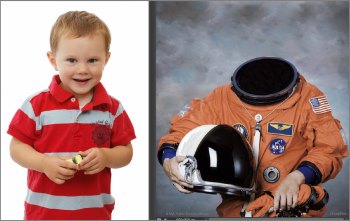
Before Head Switch:
-
After Head Switch

Step One:
Open your headshot picture in Pixlr (Open Image). Pixlr-E is here: https://pixlr.com/editor/
Start by drawing a rectangle around your head with the Crop tool.
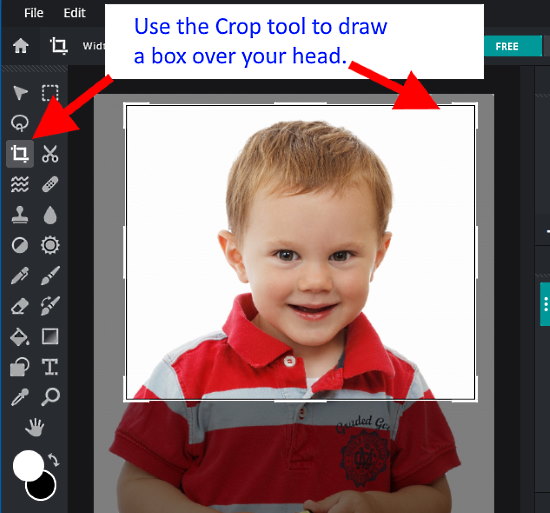
Crop your head.
Tap "Enter" on the keyboard to crop your selection.
Step Two:
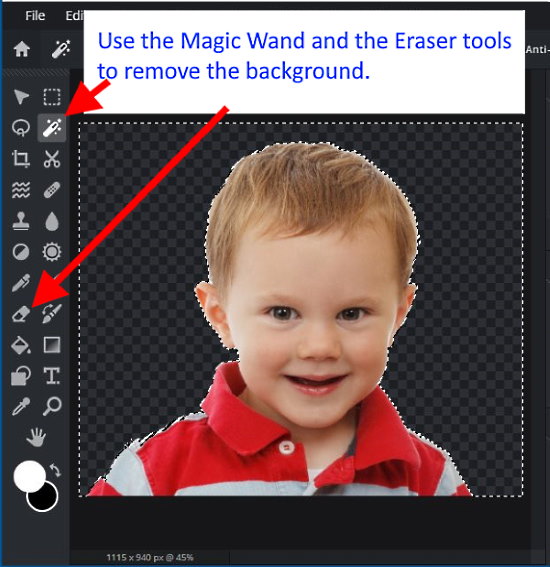
Remove the background behind your head with the magic wand and eraser.
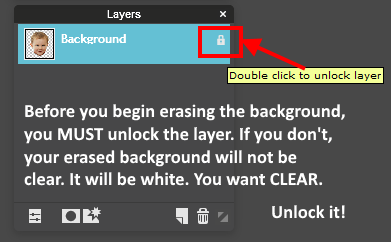
Important! before you begin removing the background of your headshot in Pixlr-E, make sure the layer is UNLOCKED. This is probably on the right side of the screen. Double click to unlock the layer.
Select the magic wand and click in the background behind the head, then use the keyboard Delete key to delete the background.
Press Ctrl + D to deselect (get rid of the marching ants). Use the eraser tool as necessary to remove additional background detail. If you see the checkerboard squares as show below, then you may continue.
If you dont see the checkerboard squares, then go back and unlock the layer first, then remove the background.
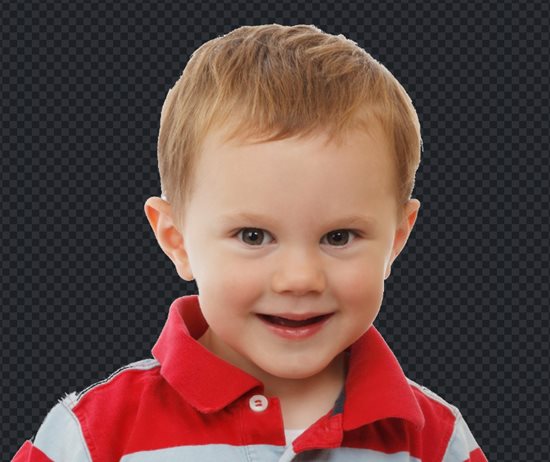
- Save the picture of your head with the (clear) background as a .png file to your 'pictures' folder. This is important, a .png file will retain the clear background. A .jpg will not.
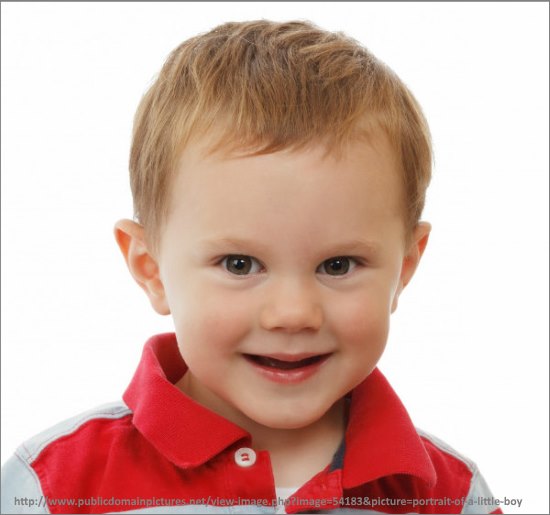
Here's how it should look when you finish removing everything around your head and neck:
Step Three:
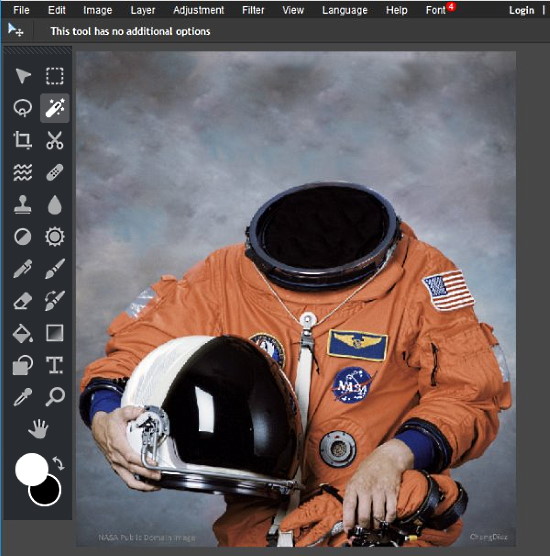
Open the body picture you want to put your head on (Open Image).
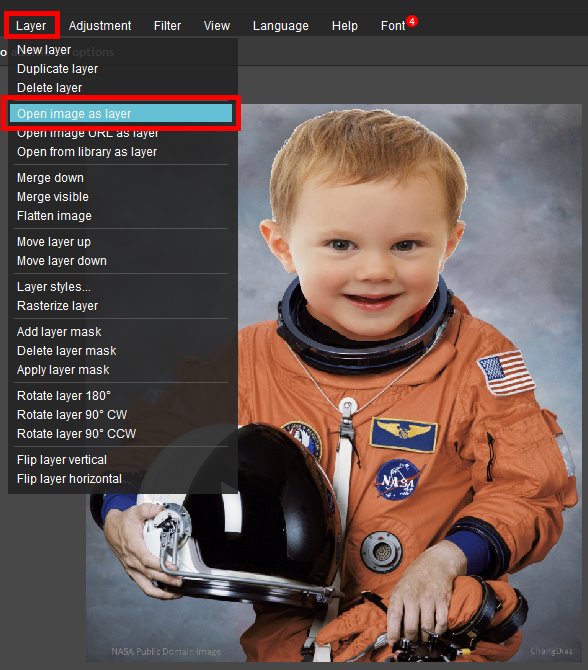
Step Four:
Add your head to the body. (Layer > Add Image as Layer).
The head shot picture is added as a new layer on the body picture. You can grab the handles on the corners or sides to change the size of the picture slightly if needed.