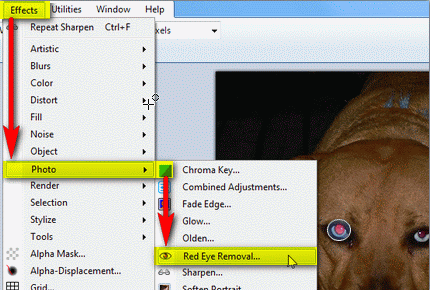
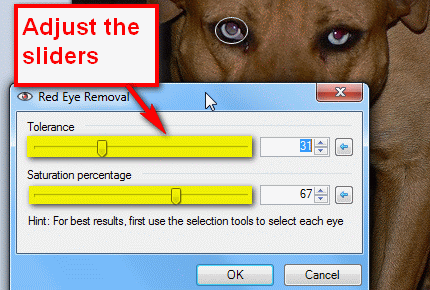
Complete Photo Editing Lesson Kit
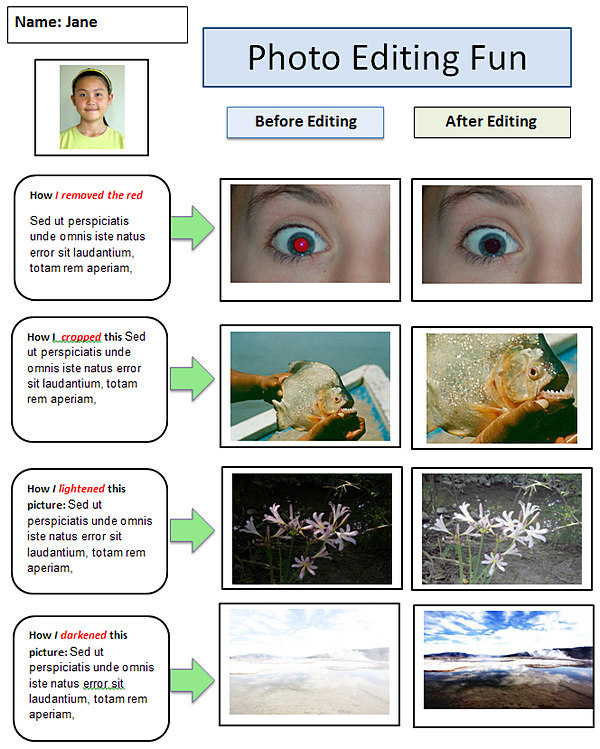
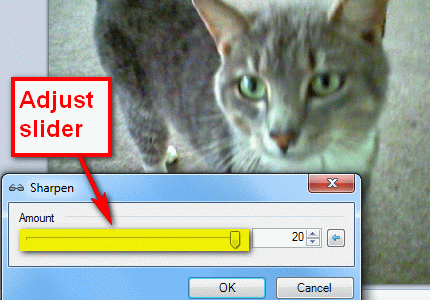
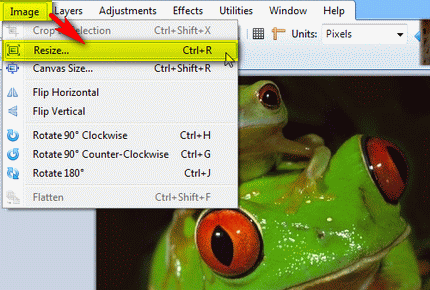
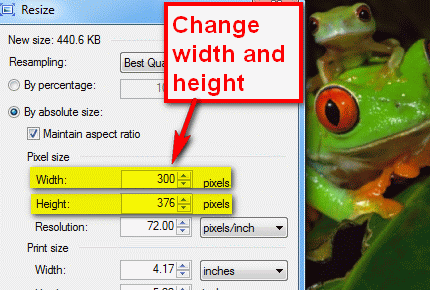
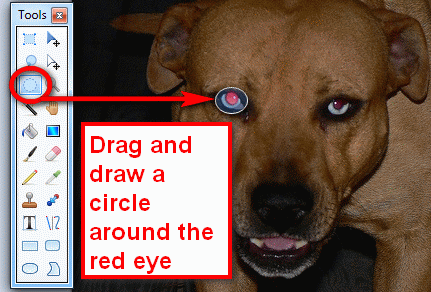
Students will use a photo editor to crop, lighten, darken, sharpen, resize and remove red eye from photos.
Students can use these techniques to improve the photos used in their assignments with PowerPoint / Google Slides presentations, brochures, posters, videos, websites, etc.
Photo Editing Kit Includes:
- Mini Tutorials for fast learning.
- Templates to build students' skills
- Downloadable Practice Photos for a quickstart
Students use the free photo editor and drawing program Paint.Net for these exercises.
Students may also use Pixlr-E, an excellent online alternative to Paint.NET with many similar features.
Photo Editing Mini-Tutorials Slideshow
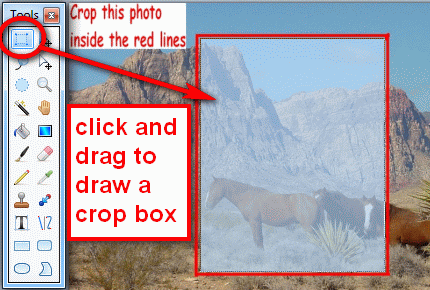
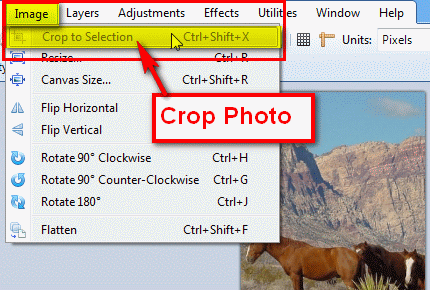
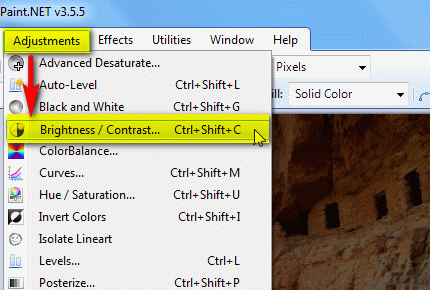
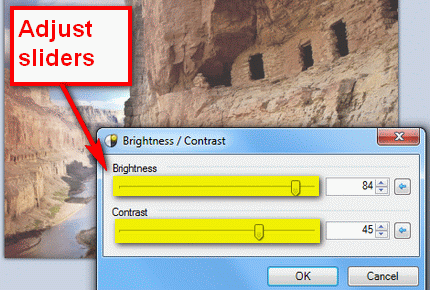
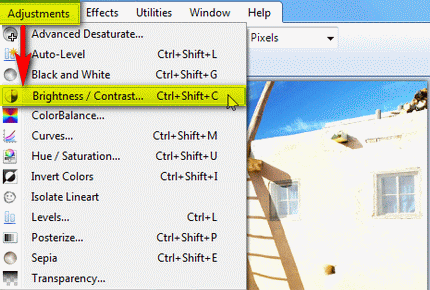
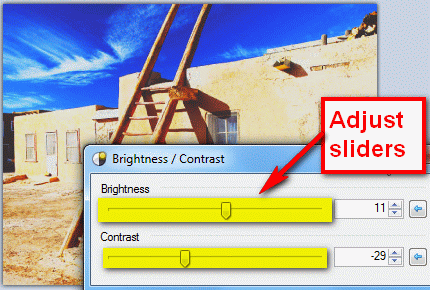
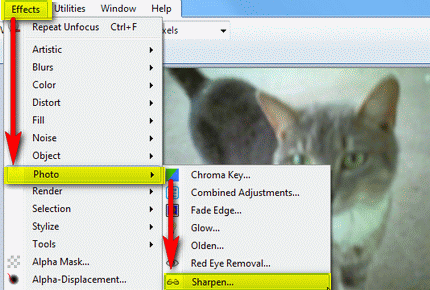
The slideshow gallery demonstrates how to perform the basic photo editing techniques using the free Windows program Paint.NET, but the techniques are similar for other photo editors.
Full size photos - download all photos - (comes with extra photos)
Download: Paint.Net
Downloadable Photos for Editing Practice
Instructions: Download the .zip file of the photos below. Extract the photos to your pictures folder. Open a photo editor and use the editing tools to edit each photo.Save your edited photos in your 'Pictures' folder.
-
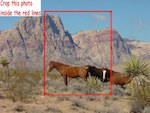
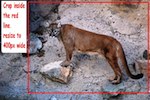
Crop these photos
-
-

-

-
Lighten these photos
-

-

-

-
Darken these photos
-

-

-

-
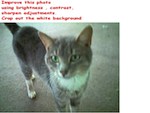
Sharpen these photos
-
-

-

-
Resize these photos
-

-
-

-
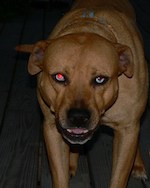
Remove red eye
-
-

-

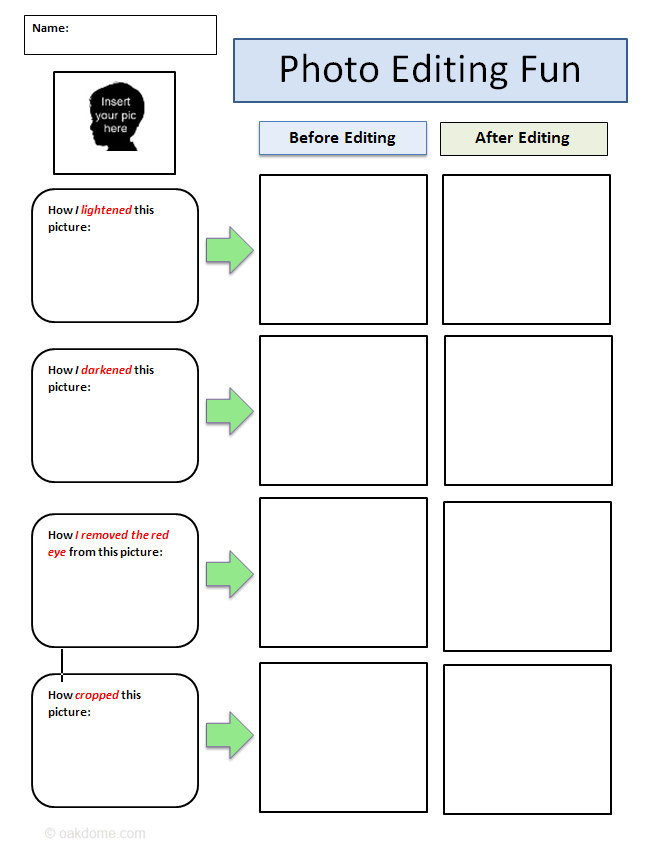
Download: photo-editing-fun-student-template-x4.docx
Photo Editing Fun - Student Templates
Download: photo-editing-fun-finished-example-x4.docx
Photo Editing Fun Lesson Template Finished Example
