Head, Shoulders, Knees and Toes
Assignment: A fun activity using a word processor that students can use to learn how to insert and manage clipart and text boxes for illustration and annotation. Students can also search the internet for appropriate images to copy and paste into their page for labeling. These skills are essential for creating brochures, posters, title pages and reports.
Grade 3 +
With guidance and support from adults, use technology to produce and publish writing (using keyboarding skills) as well as to interact and collaborate with others. Common Core Standard: CCSS.ELA-LITERACY.W.3.6
Download: head-shoulders-knees-toes-instructions.pdf
Instructions: Head, Shoulders, Knees, and Toes
Inserting Clipart
These examples refer to Microsoft Word, however, inserting images and textboxes is basic to Google Docs and other word processors.
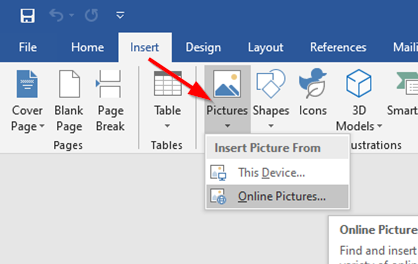
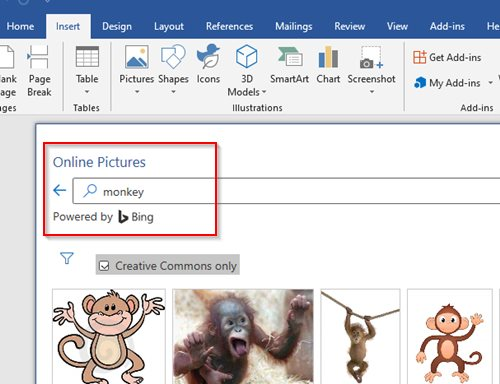
Searching for Clipart
Type your search term in the search box and click Go. Click the clip you want to insert into your document.
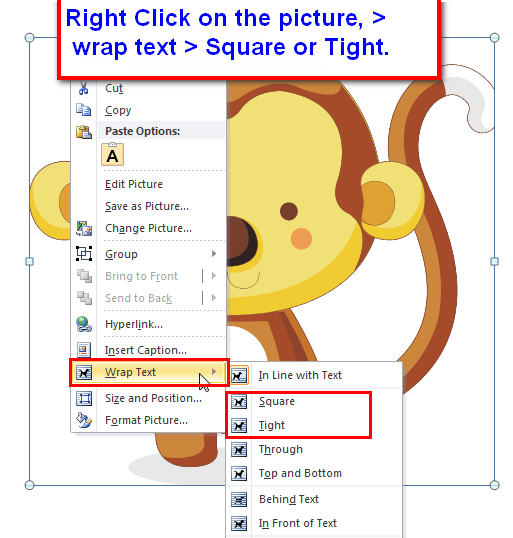
Moving Clipart
Right click on your clipart, move the cursor down to Wrap Text and then click Square or Tight. Now click and hold the left mouse button and drag the picture to move it.
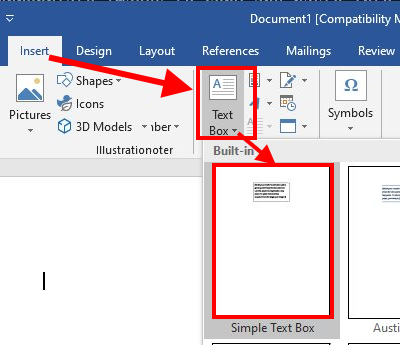
Inserting a Textbox
Go to the Insert tab and click Text Box. Move the mouse to "Simple Text Box" and click to insert it.
Sizing and Moving a Textbox
Click, hold and drag one of the handles at the corners or sides (shown here in yellow) to adjust and resize the text box. Click, hold and drag the text box border to move the text box.